This is how to create a site for a customer using our Hostlaunch setup. This gives a DigitalOcean Server and Serverpilot control Panel clone. I’m working on improving this, however this is a very good option when someone needs their own server for security purposes, SEO, or performance. This also gives more options, but that is outside of the scope of this document.
Requirements
First before we can start we need the customers email and/or domain name to get started. If they do not have email yet because we will setup an email server there would be some additional steps that I do not want to “publish” at this time. For this case just let me know directly. For this example I am going to get a domain for the customer so we will head over to our domain reseller https://www.easytogetmy.com/ there are 2 versions to this site the www version is our GoDaddy reseller and the none www version is our private managed hosting. I will get into details of each in other documentation as we are going to look at our HostLaunch hosting located at: https://etgm.hostlaunchcdn.com/signup
At this point our managed hosting is via invite only https://easytogetmy.com and more guides and information will be added to this site for people that want to have blogs or other static pages.
To break down the requirements again you need:
- Domain Name – Click here to get a domain name
- email – Click here to make a choice about email
Getting the Domain
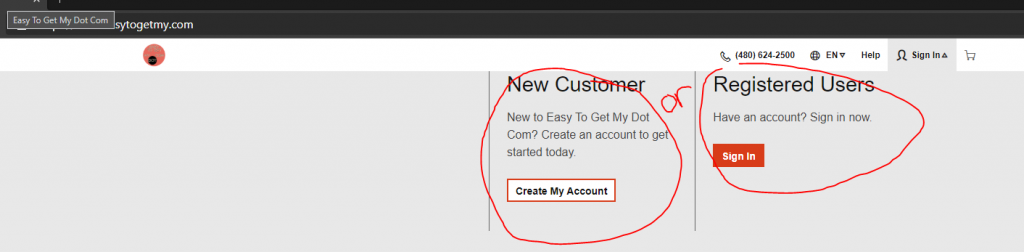
Once the customer has gone to Easy To Get My Dot Com they will need to either sign into their account or create an account:
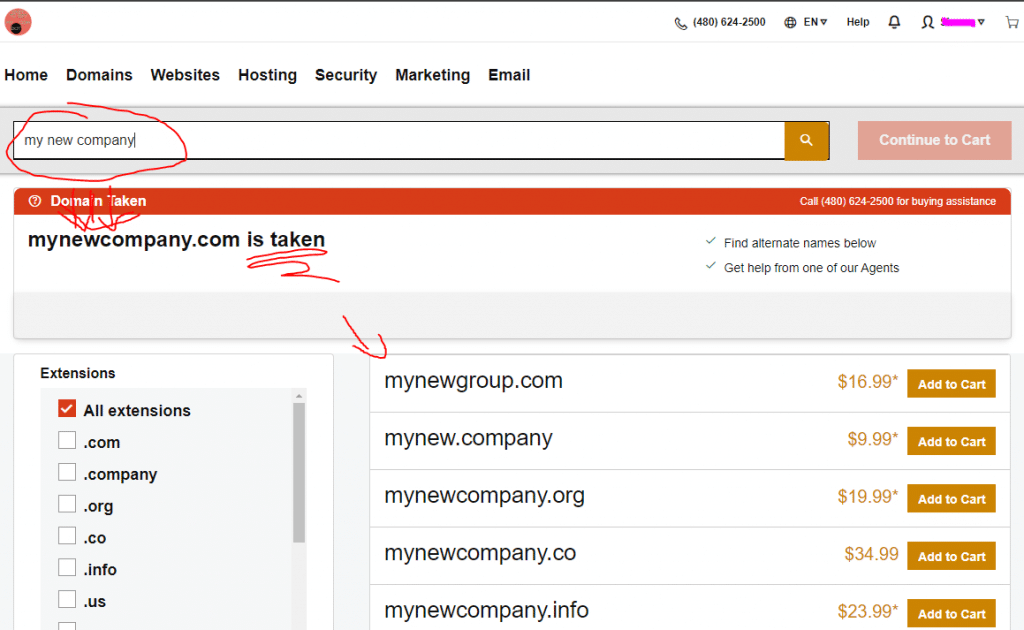
Once logged in there is an easy to use search bar for finding a domain:

Searching can be done using the name of the customers company or something similar to what they are offering. In this case I search for “my new company”, notice I don’t worry about spaces, and the system automatically determines the domain I was looking for was the combination of all my words and shows it was taken. However, it offers several suggestions of things that are similar but available for purchase. If you are getting something it is wise to ensure you are not infringing on any trademarks or copyrights:
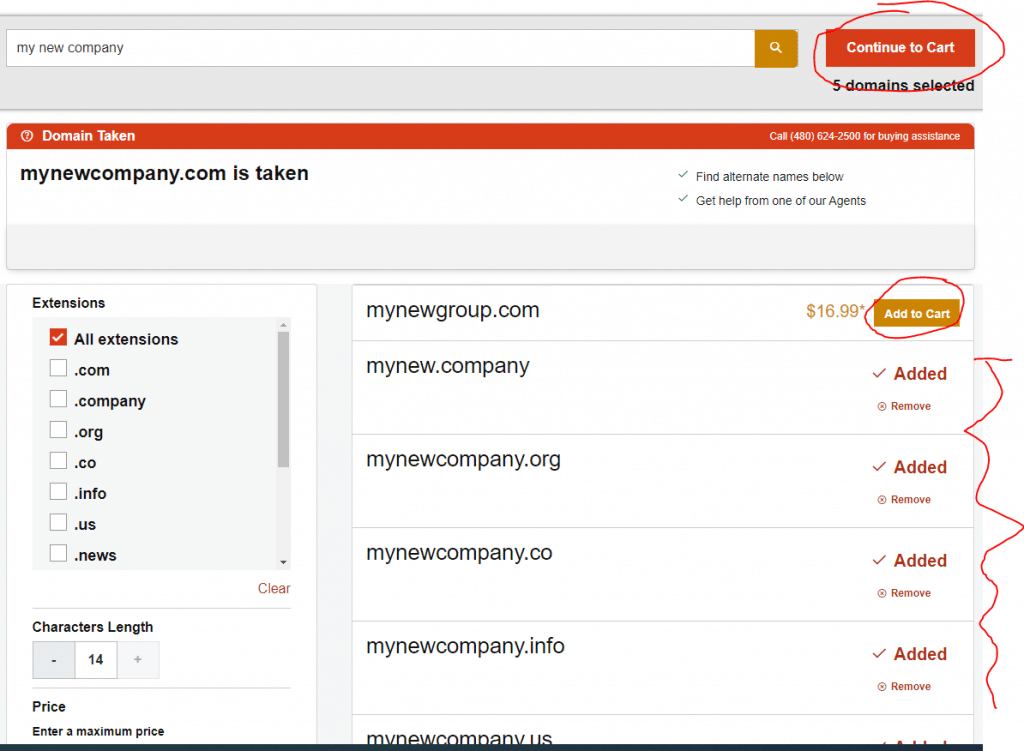
Once you have selected a new domain click the “Add to Cart” button next to the domain. It will leave you on this page so you can keep selecting domains you like, or even search for more domains. When you are done click the “Continue to Cart” button:
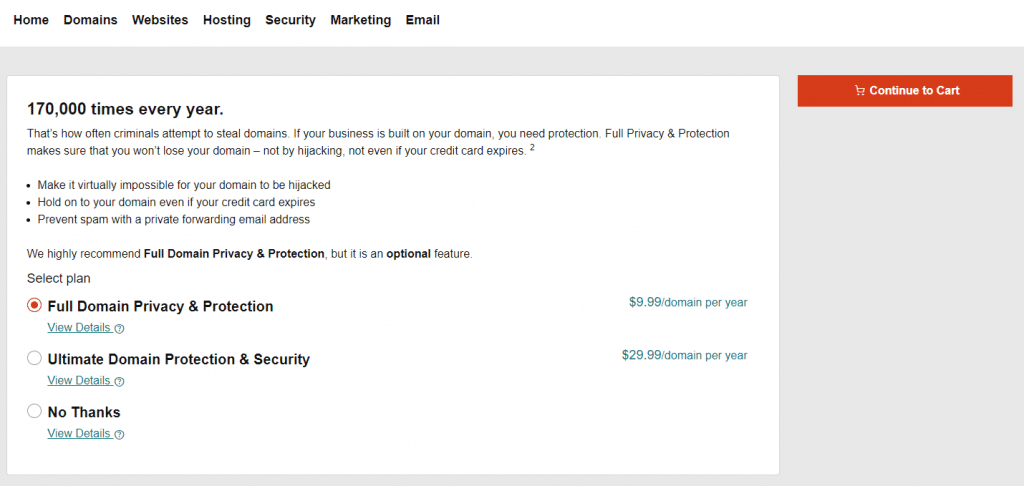
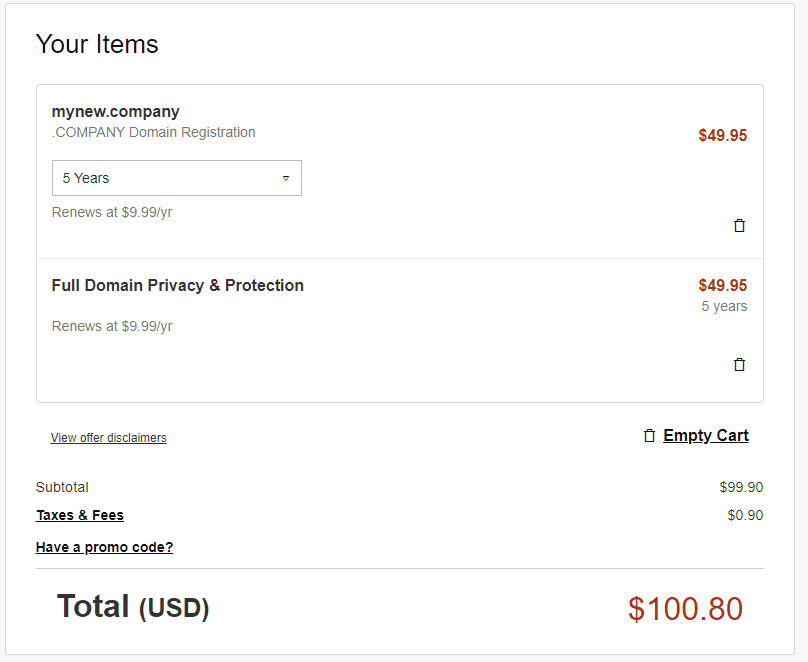
On the next page you are going to be asked about “Privacy & Protection” settings for your domain. I personally do this for about 80% of my domains, and I own hundreds of domains. The reason for doing this is simple. It will help cut down the spam and junk you will get in the mail, email, and even calls. People will send you all kinds of junk about how your domain is illegal or you about to loose it etc. If you are good about ignoring these things and don’t mind the constant annoyance then don’t get the protection. However, if you are like me and busy and tired of all the junk the $9.99 or $29.99 for Ulitmate are well worth the price. Especially since it is only a yearly fee.
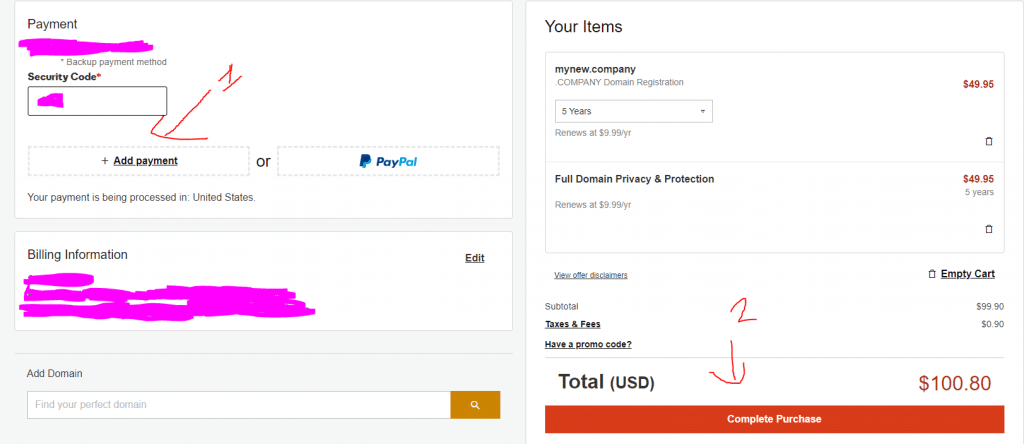
If you select a restricted domain you might need to answer some additional questions. Just answer them honestly and you will move to the next step which will let you check your finial cart and select your term of ownership. If you are satisfied you can add your payment info on the left and complete the purchase:
Now that we have the domain we are able to start the next part of setting up hosting!
Setup Hostlaunch Hosting: Step-by-Step
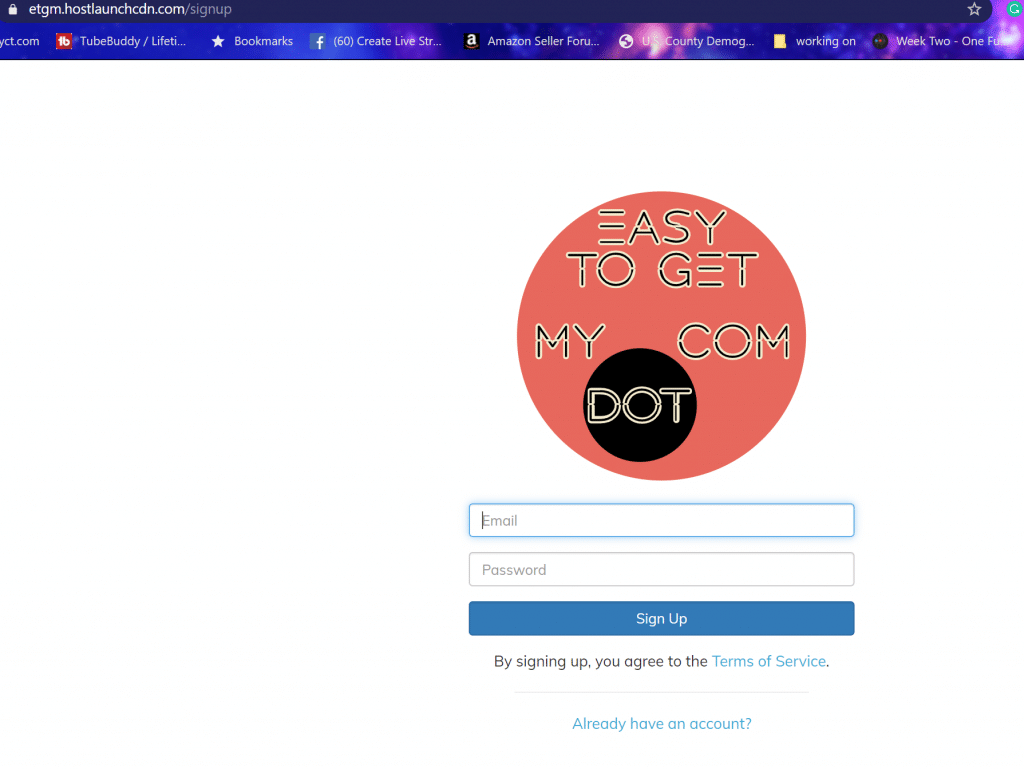
Getting started with our Hostlaunch Private Server Hosting is very simple. We may change the name of this in the near future, but regardless this will help you get started. First on the signup page you will only need an email and password:
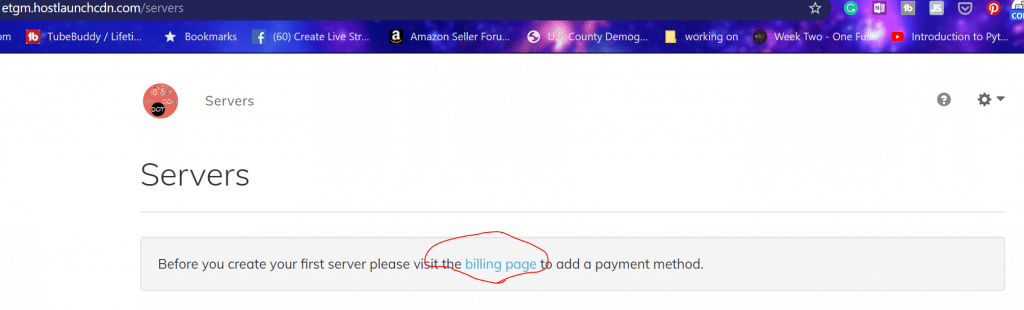
I recommend saving your password if your browser allows you to do so. The first thing you will be required to do is enter your billing info so that you can get started using the service.
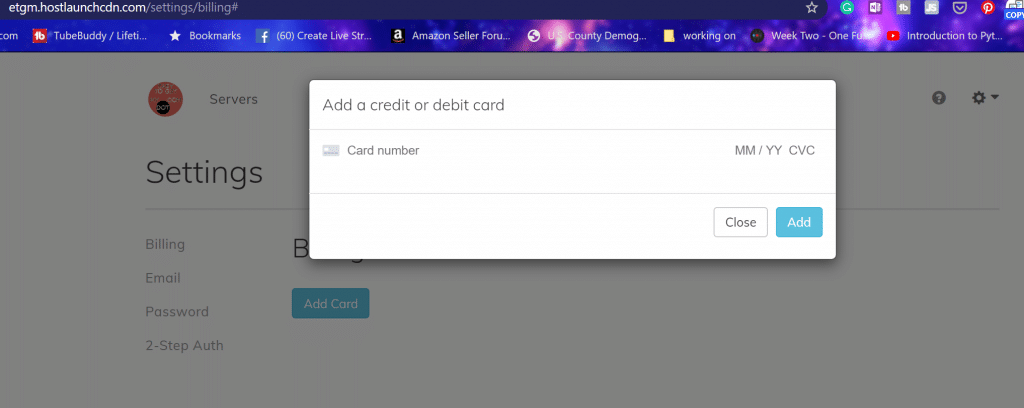
Once you enter the billing information you will see you can manage the other parts of the account in this same area. Now you will have a new option to add a server:
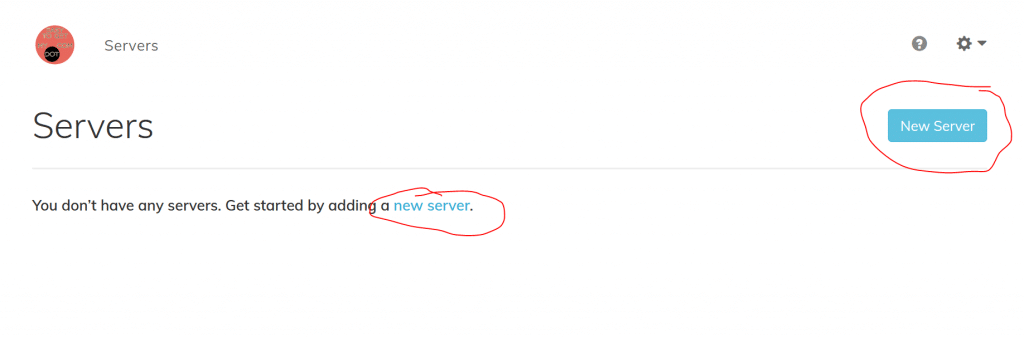
Clicking this will allow you to select from the options and pick based on your actual needs. The full list is very much overkill for the typical site and you will typically only need one of the top 4 options:
| Memory | vCPUS | Storage | B-Width | Sites | Price | Purpose |
| 1 GB | 1 | 25 GB | 1 TB | 1 | $30 | Blog or “I’m here” |
| 2 GB | 1 | 50 GB | 2 TB | 2 | $40 | Blog or “I’m here” |
| 3 GB | 1 | 60 GB | 3 TB | 10 | $75 | Ecomm or Big Blog |
| 4 GB | 2 | 80 GB | 4 TB | 20 | $92.73 | Ecomm or Custom |
Blog sites and “I’m here” sites are general purpose. with 1TB of bandwidth you would need tons of traffic to get above that. I have turned these values up the best I could so that you would have a site that should work with hundreds of thousands of monthly visitors. I also didn’t go for the typical .99 pricing and just left things even numbered except where I could find a little place to offer additional value or discount such as seen with the 4 GB 2 CPU option.
The reason why things are structured and priced the way they are this hosting is not going to just hang out and hope for you to keep the server up-to-date and secured. Instead we have set things up so that 99% of that is taken care of for you.
This means we have optimized the server with caching, secured it with the best practices, and set it to auto update. You will also get SSL for free, but need to email support to activate this feature until a future update.
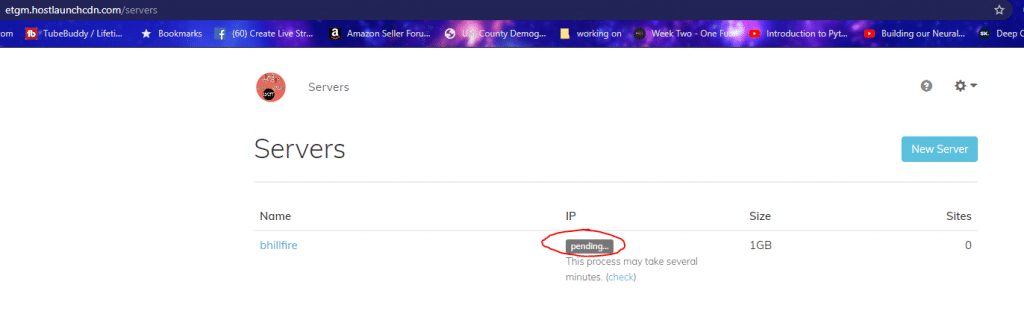
Once you select your option and click next you will need to wait several minutes. If your server is not created within about 10 minutes there may be an issue and you should check out our support site. You can click the “check” link as many times as you would like to refresh the status and see if your server is ready to use.
Making Your Site
Once the server setup is completed you will be greeted with an IP address and several options when you click on the server name.
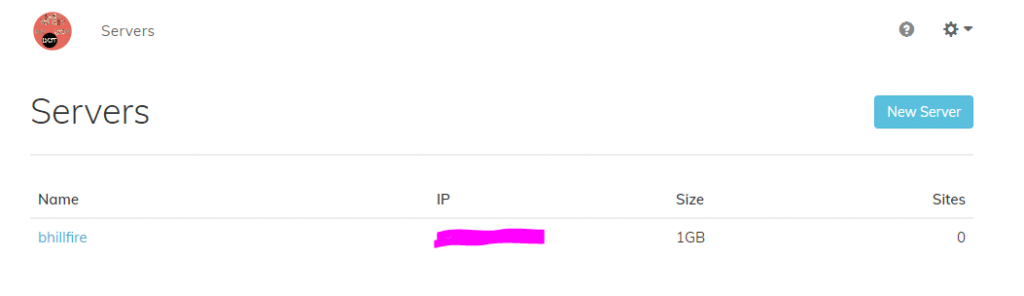
We will use this section to make our new site:
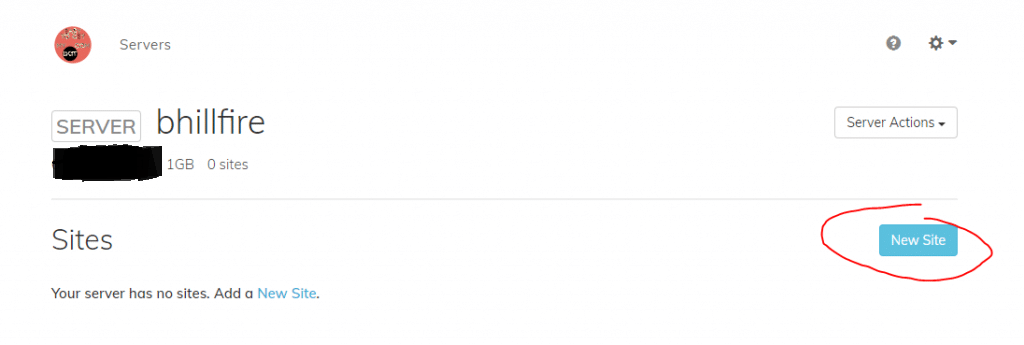
Start by entering a site name and the domain you have previously purchased. If you need a domain please visit our reseller site: Easy To Get My DOT Com
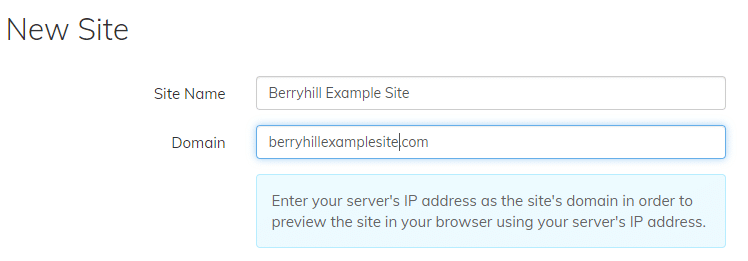
If you see my example above you will see I use capital letters and spaces. This is NOT ALLOWED.
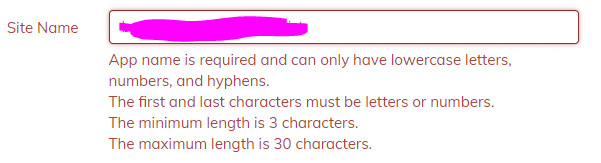
Site Name here is the way the system keeps track of your server, and to work properly it must be all lowercase, numbers, and single hyphens only. You must also have between 3 and 30 characters and not start or end with a hyphen.
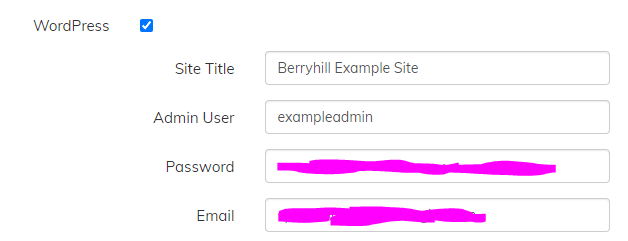
Next you are going to set your WordPress options. Pick a site title that fits your brand or purpose. Name an admin user. It is smart to make an admin user one that you will not use to make posts or pages, but this is not as important as it used to be. Pick a strong password, and add your email. This email will give full access and control over your site so you want to make sure it is one you know how to access.
The next part you are picking the server options including PHP version which should always be the newest available version that is not a BETA. You will also setup an FTP user either using an existing user if you have already made a server before and are using these docs as reference, or if this is your first go around you can make your FTP username and password here. DO NOT MAKE THEM THE SAME AS YOUR WORDPRESS OR HOSTING ACCOUNT!!!

Once you click create your site will be made in a matter of moments. You will be able to visit your domain and login using the credentials you setup earlier. Then you can start doing all the wonderful WordPress things you have been looking forward to 🙂
How to Make Your Site Show Up
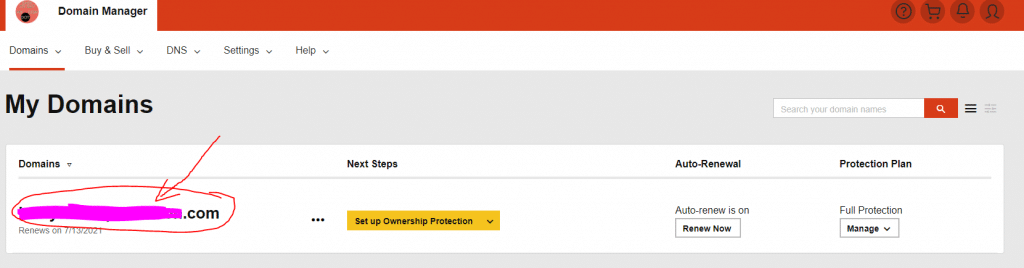
Back inside your www.easytogetmy.com domain manager you want to start by clicking on the domain you intend to use:
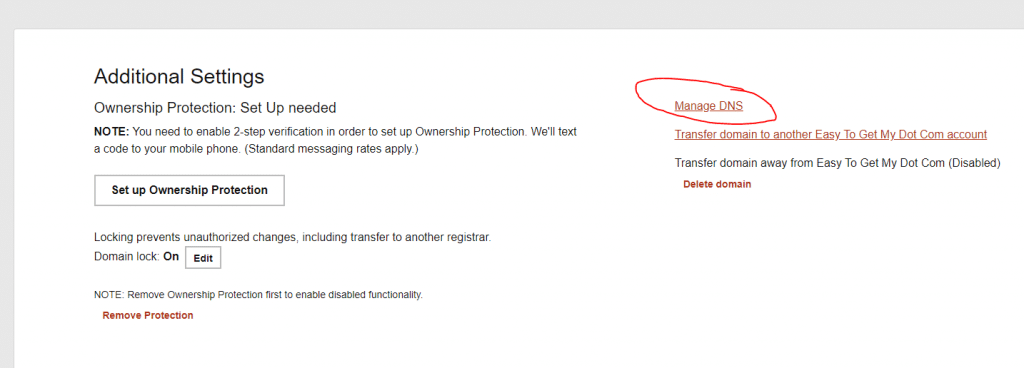
Once you are inside of the domain control area scroll down until you see “Additional Settings” and “Manage DNS” click on Manage DNS:
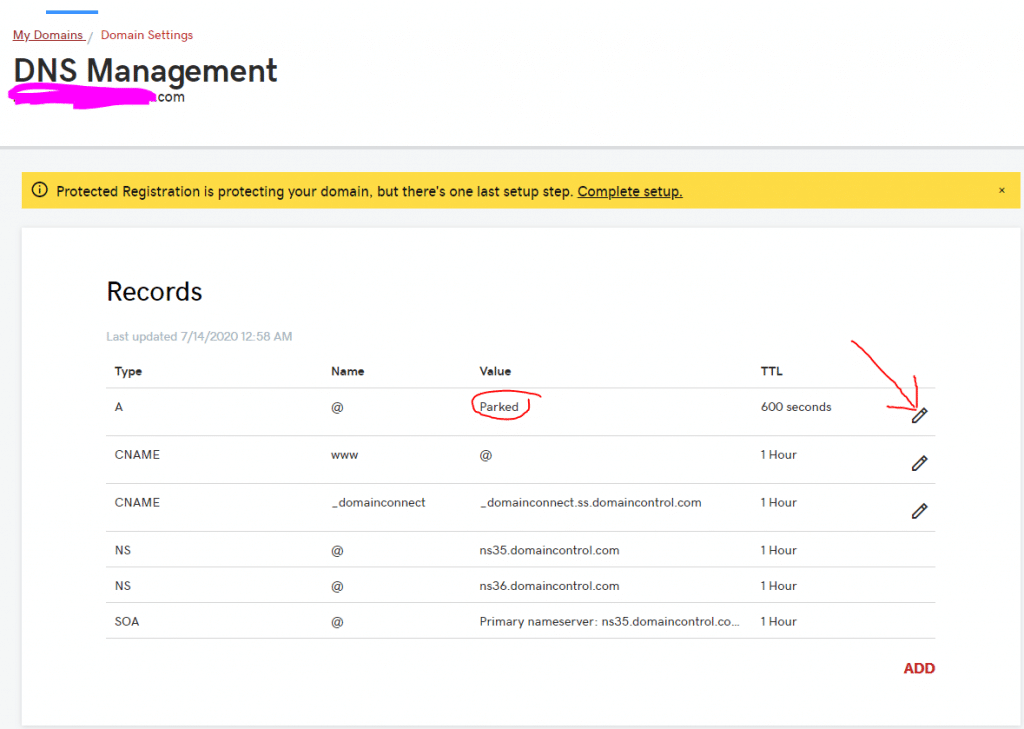
Inside this area you are going to put your IP address from your server for the A-Type Record value replacing what is typically “Parked” this will be all you need to do at this time except for wait up to 48 hrs.

Once DNS has had time to settle you will be able to visit the domain name you setup and see your new site. To login you need to add to the end of the domain /wp-admin/ and use the username and password you setup in the previous steps. I will have more tutorials coming in the near future on what you can do next from here.
Remember this is your own full private server where you can experiment or build your business etc. Actions you take on this server will only effect your site/server. You will have full access to the backend using SSH and full access to the files using SFTP.