WP-Rocket is a WordPress plugin that is a powerful caching, used to improve your WordPress site’s loading speed, SEO rankings, and it requires no coding to be made. More information about this plugin can be found here. This Document will cover setting up the WP-Rocket plugin after installing it.
Before doing anything, the most obvious thing that you need is to install the WP-Rocket plugin itself. The plugin comes with a price, but it would be worth every buck that you used to make this plugin work. More information about installing the plugin and its prices can be found here.
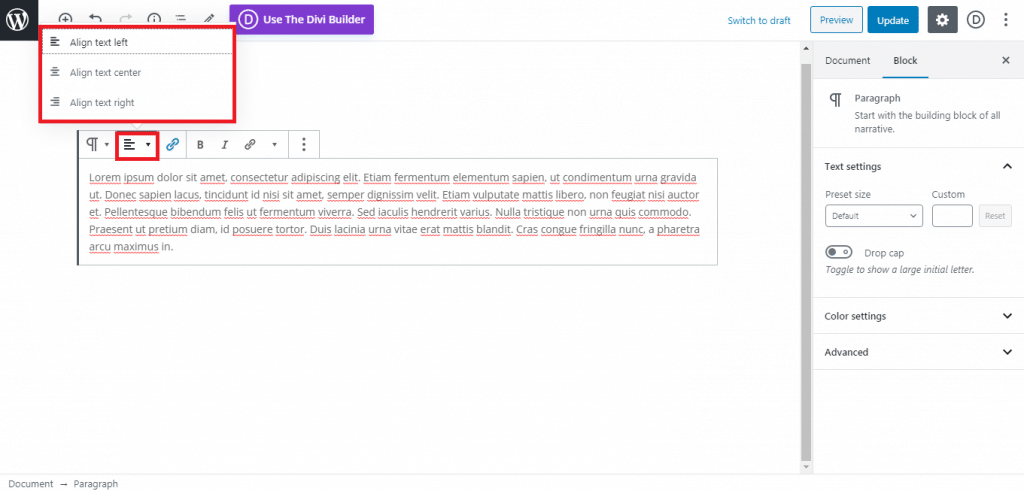
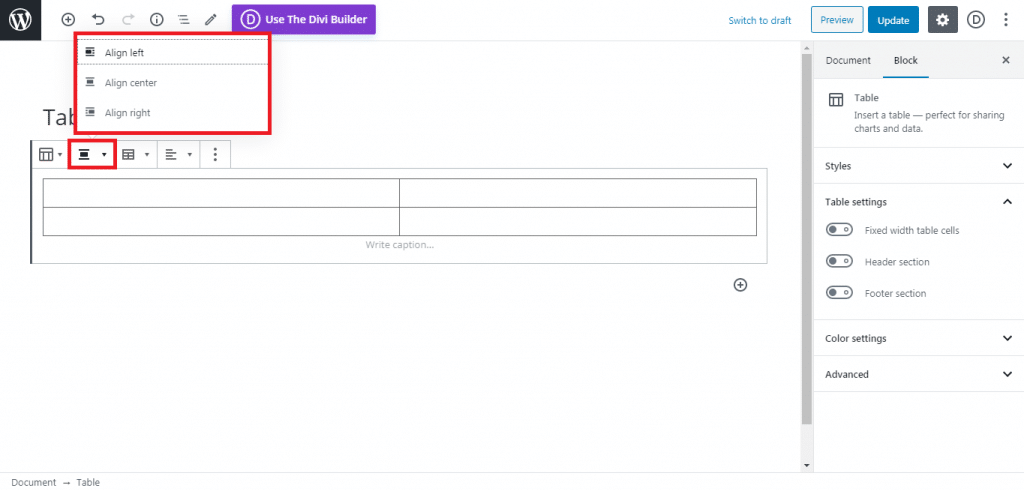
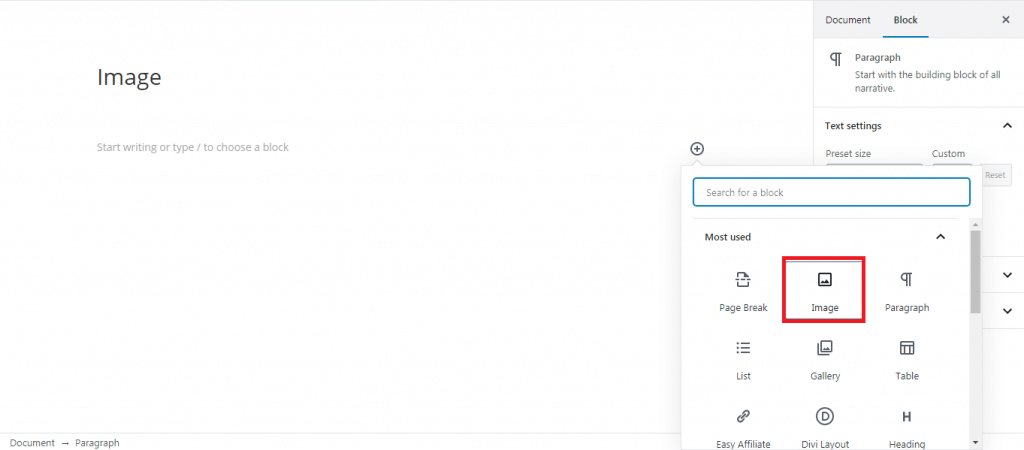
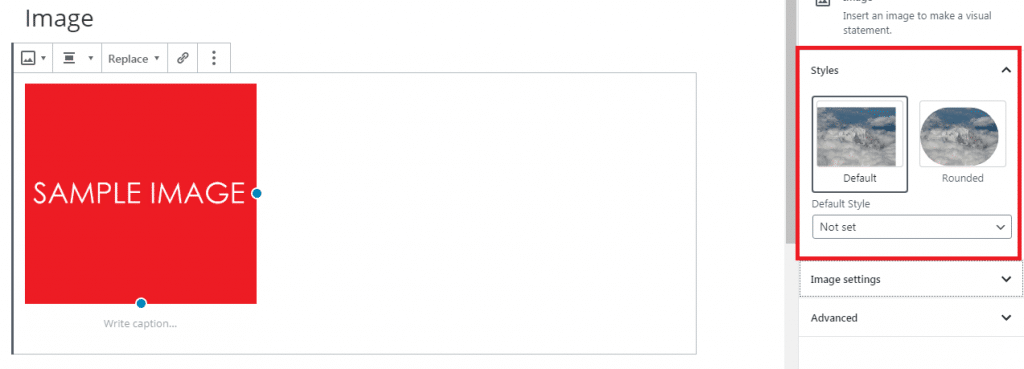
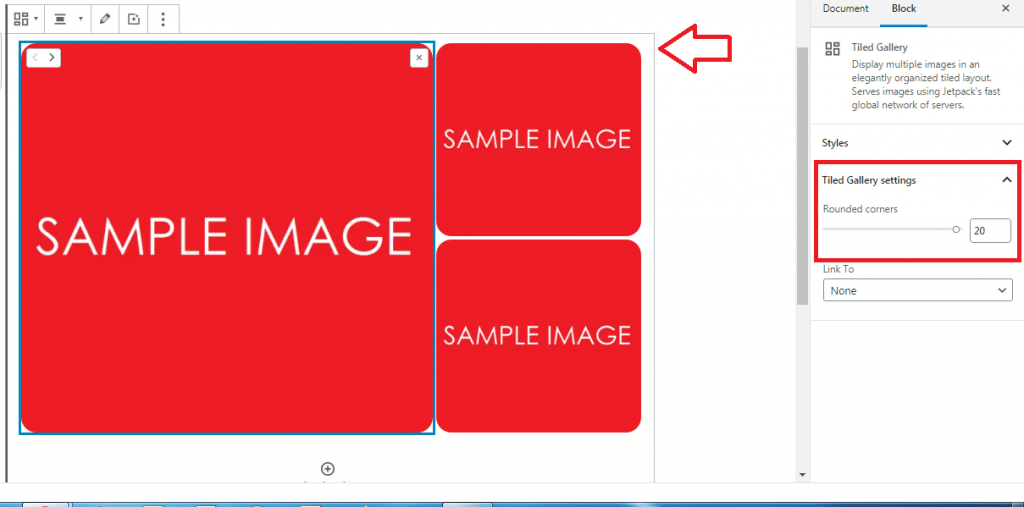
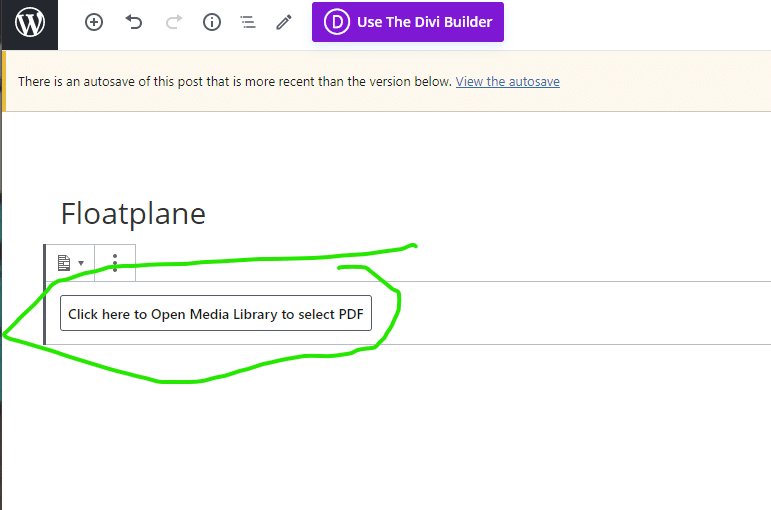
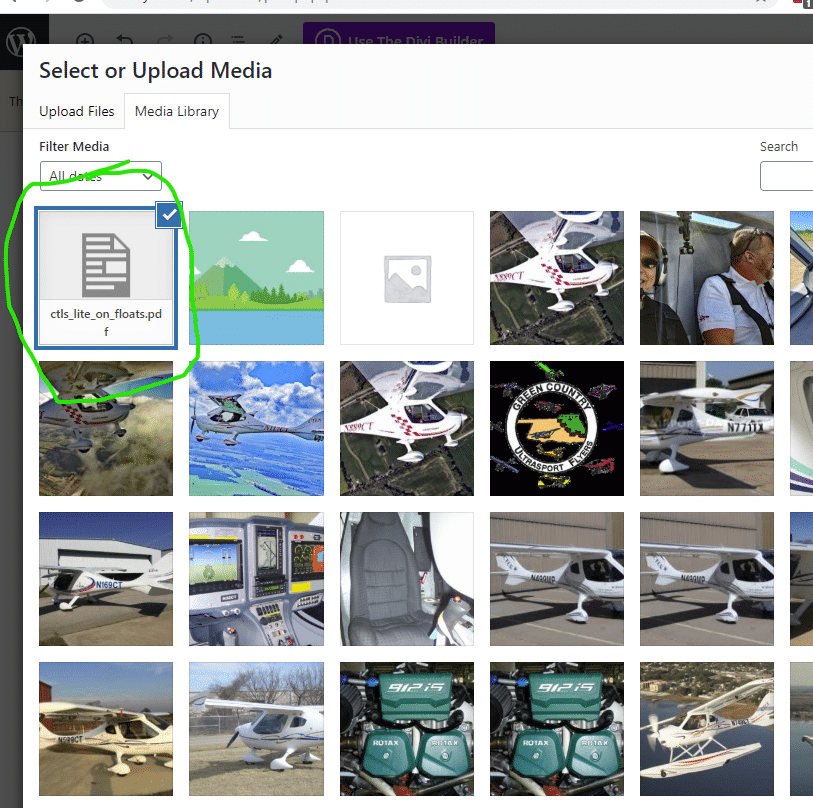
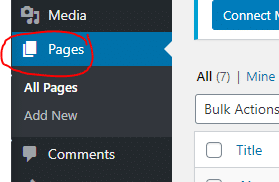
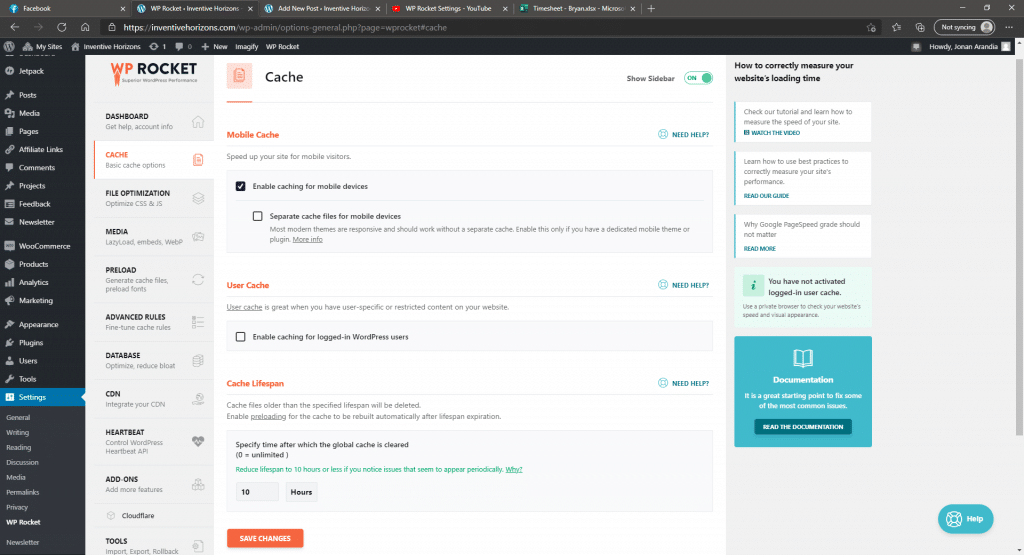
After installing and activating the plugin, we can start going to the plugin’s dashboard, which is located on the WordPress site settings>WP-Rocket
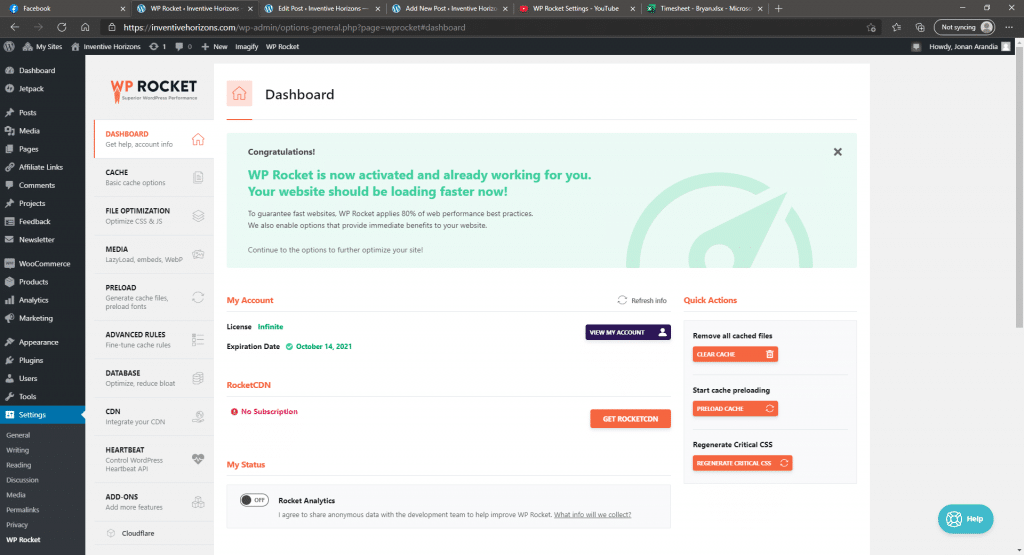
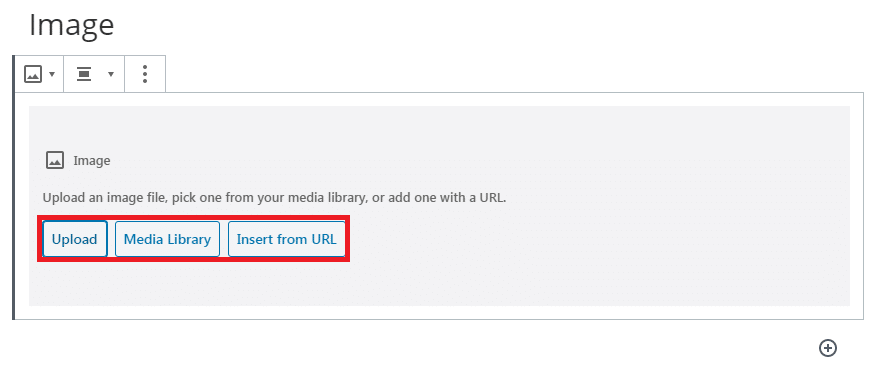
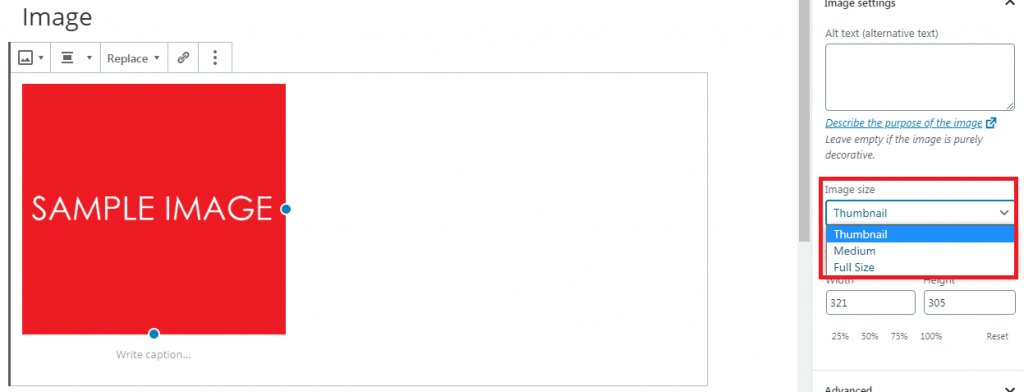
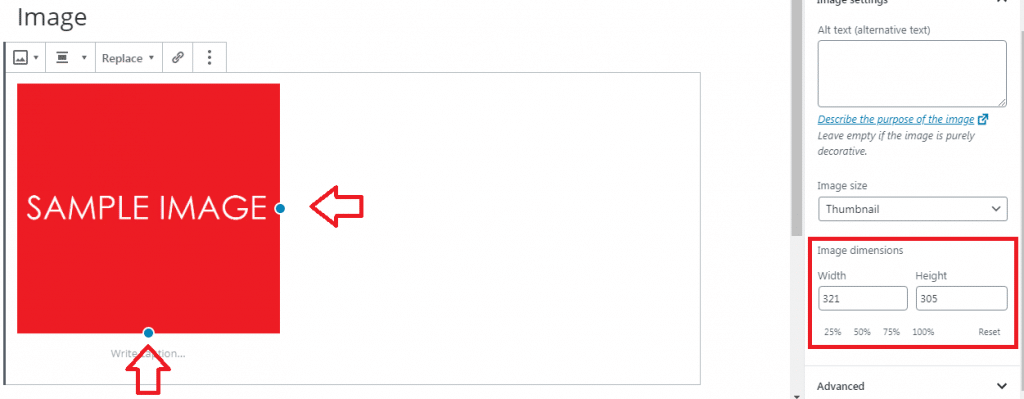
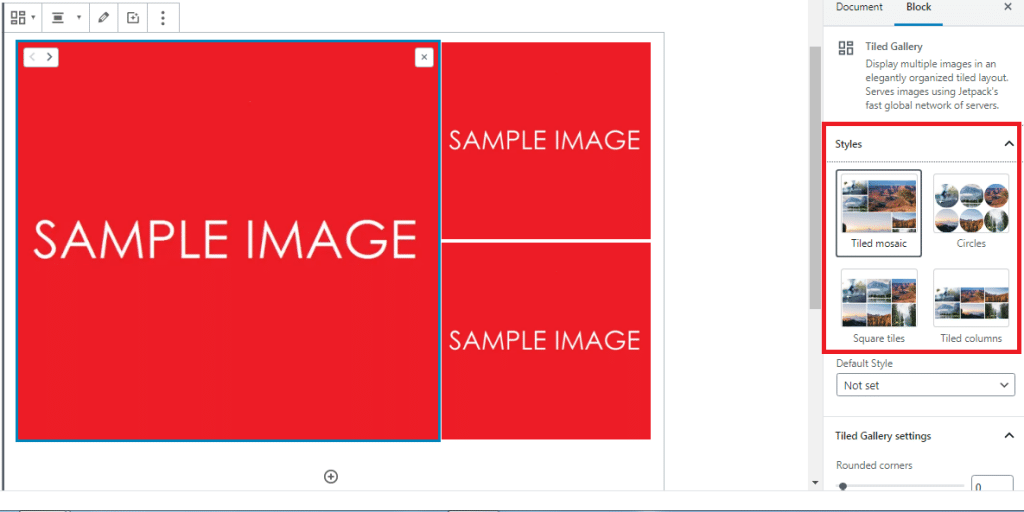
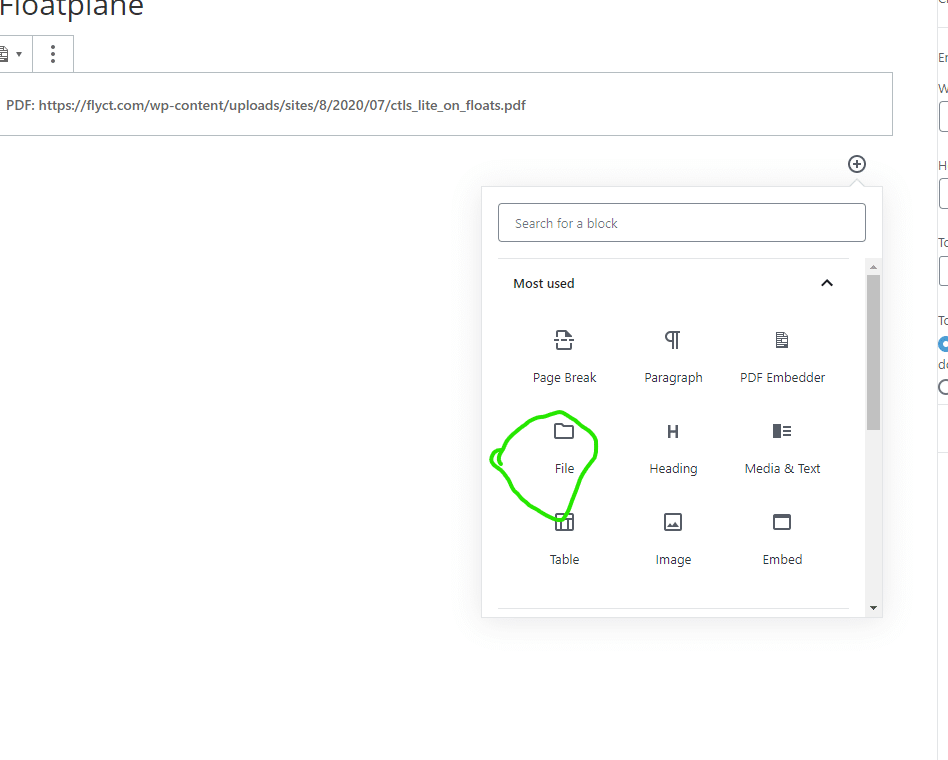
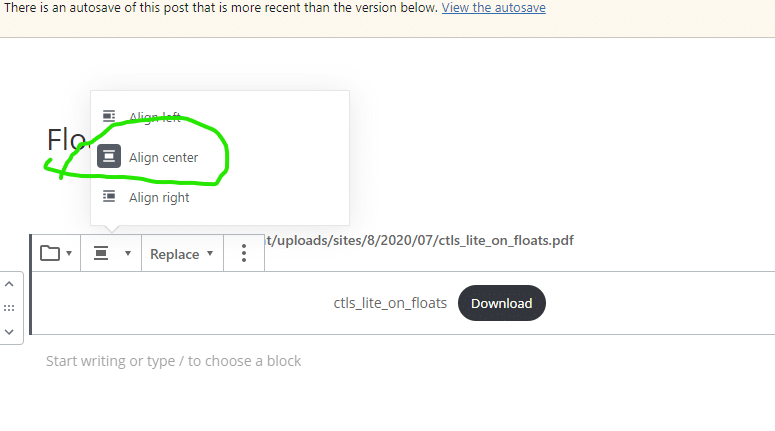
Then follow to continue to copy the settings that you see on the pictures below. Be sure to save the changes before moving into the next section.
Cache
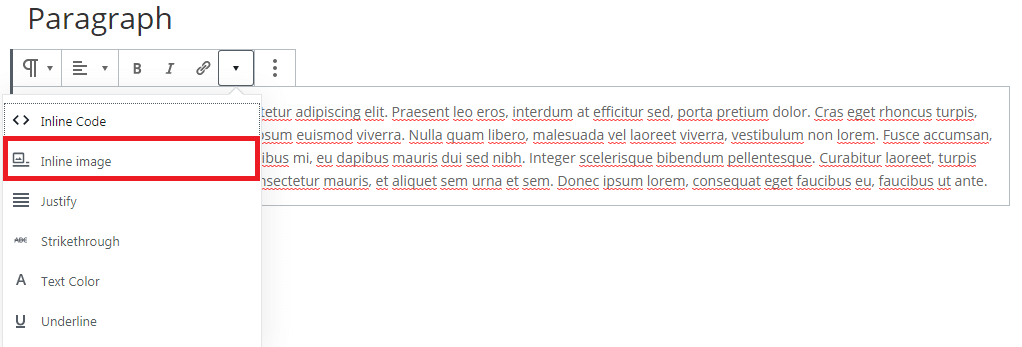
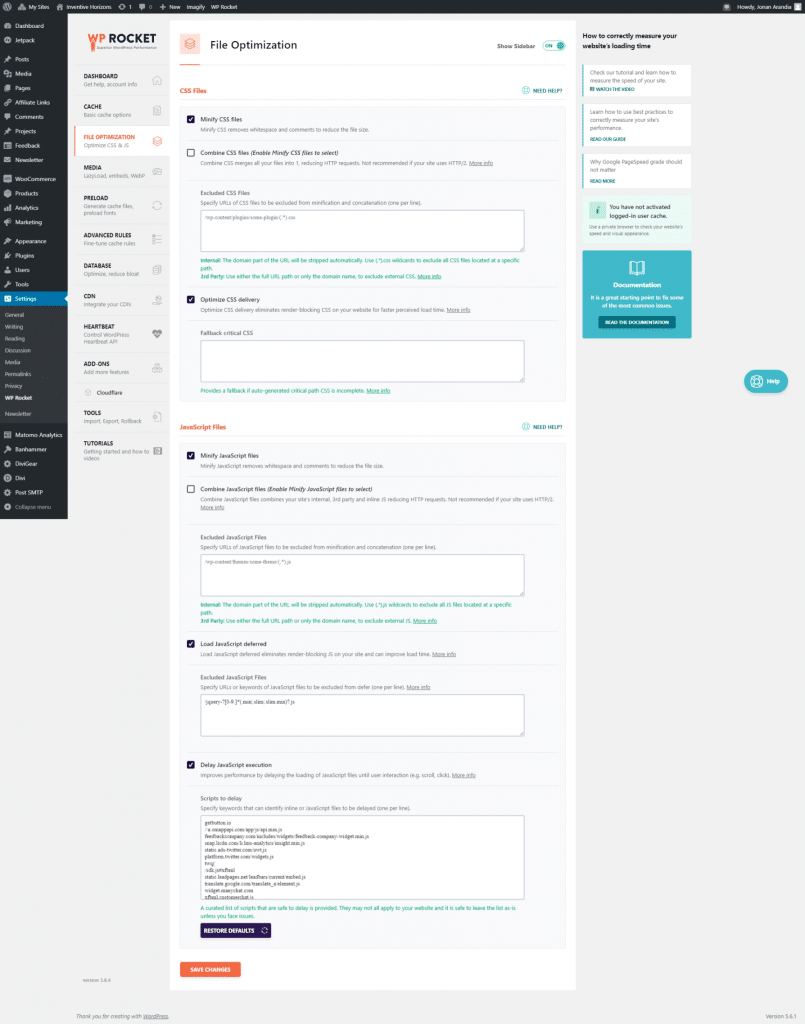
File Optimization
- Activate Minify CSS files
- Activate JavaScript files
- Load JavaScript deferred
- Delay JavaScript execution
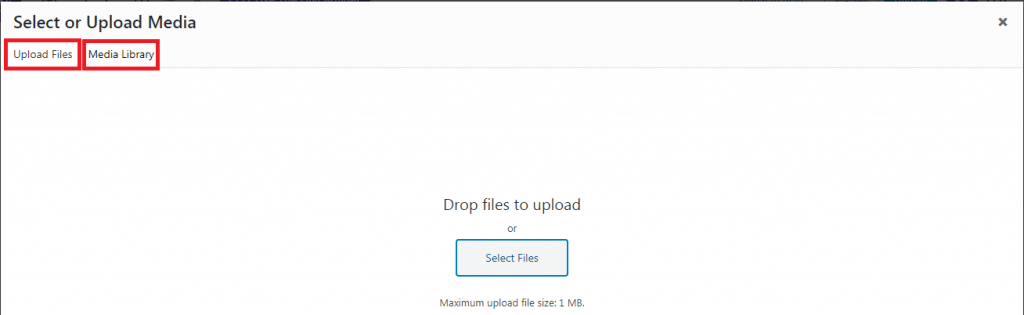
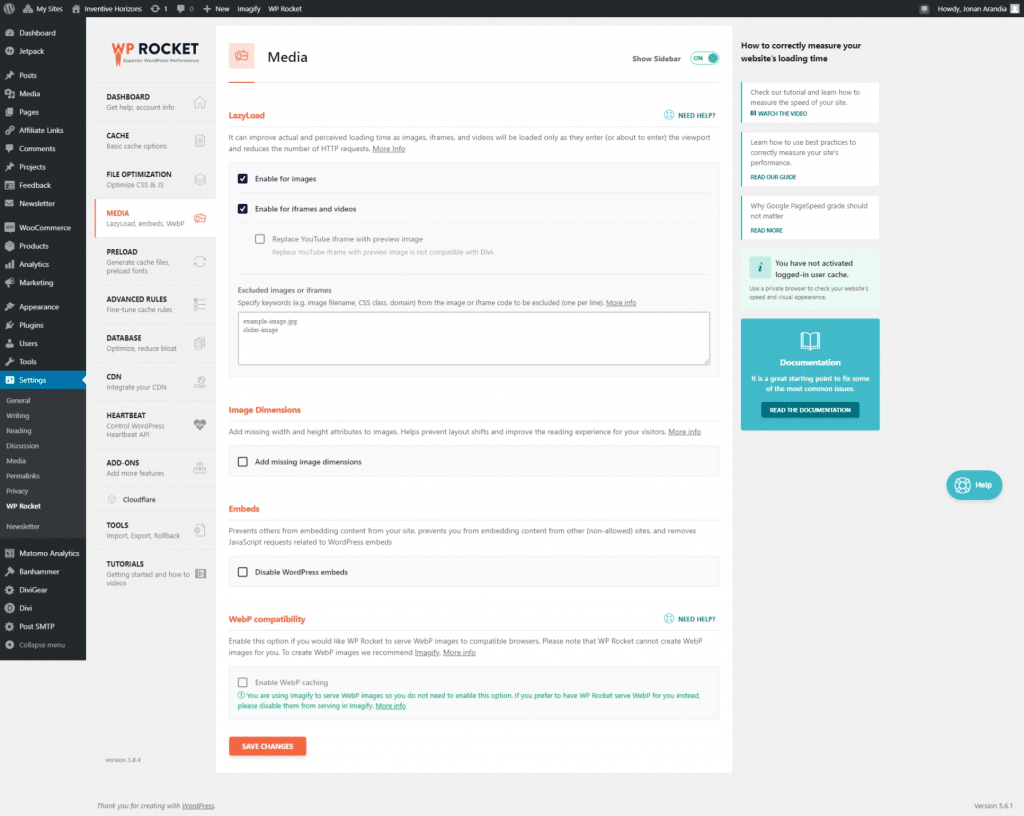
Media
- Enable for Images
- Enable for themes and videos
This would be site-dependent (changes may occur)
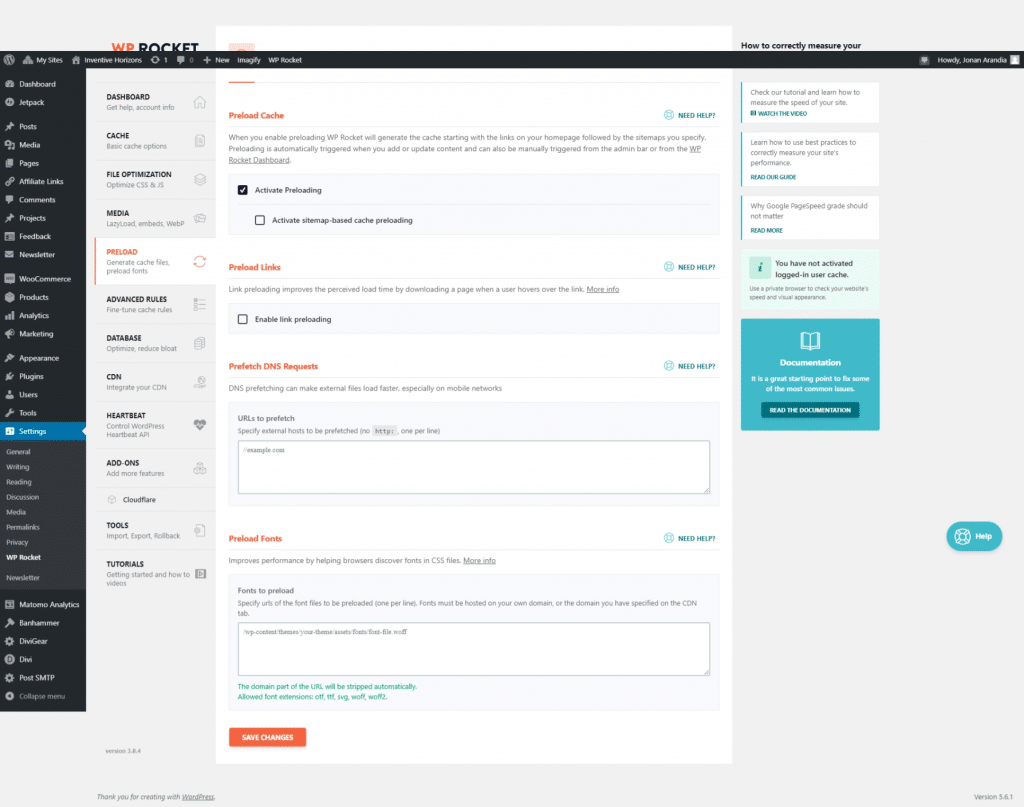
PreLoad
- Activate Preloading
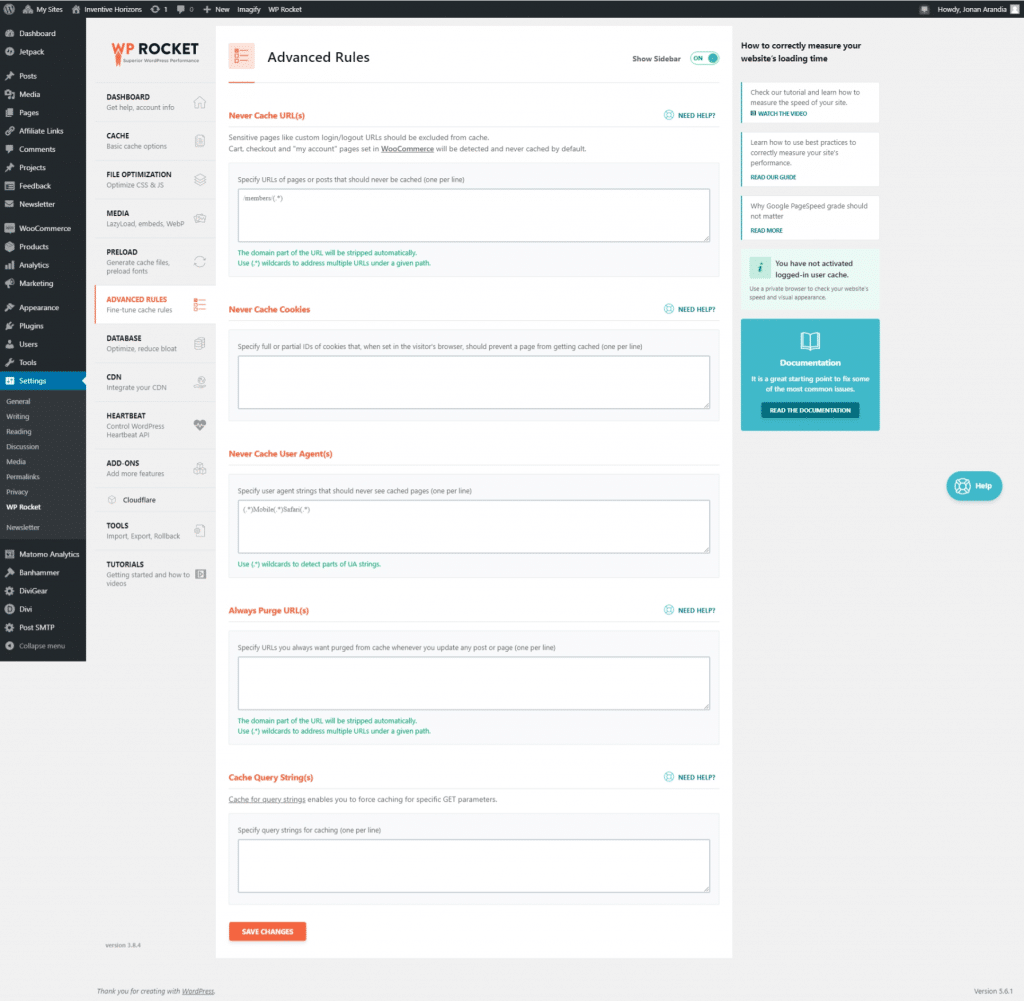
Advance Rules
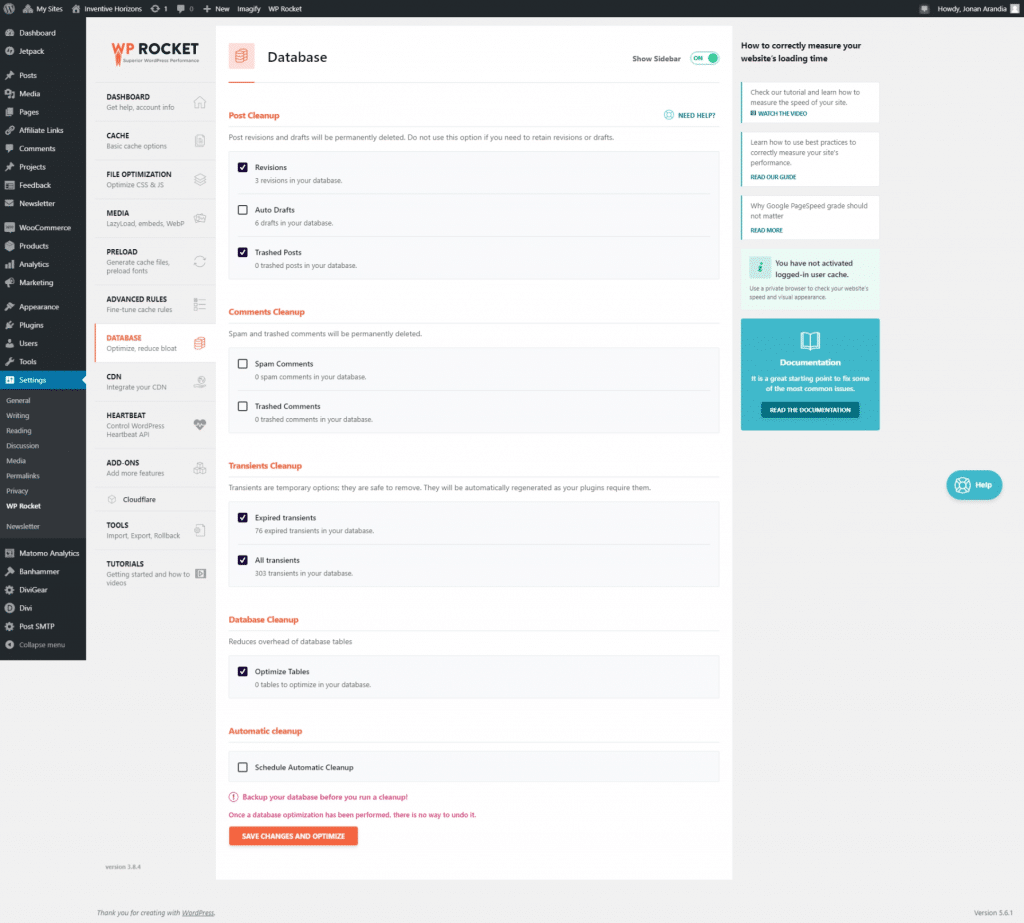
Database
- Revision
- Trashed Posts
- Expired Transients
- All transients
- Optimize tables
CDN
I didn’t get this
-Ok we can fix documentation later.
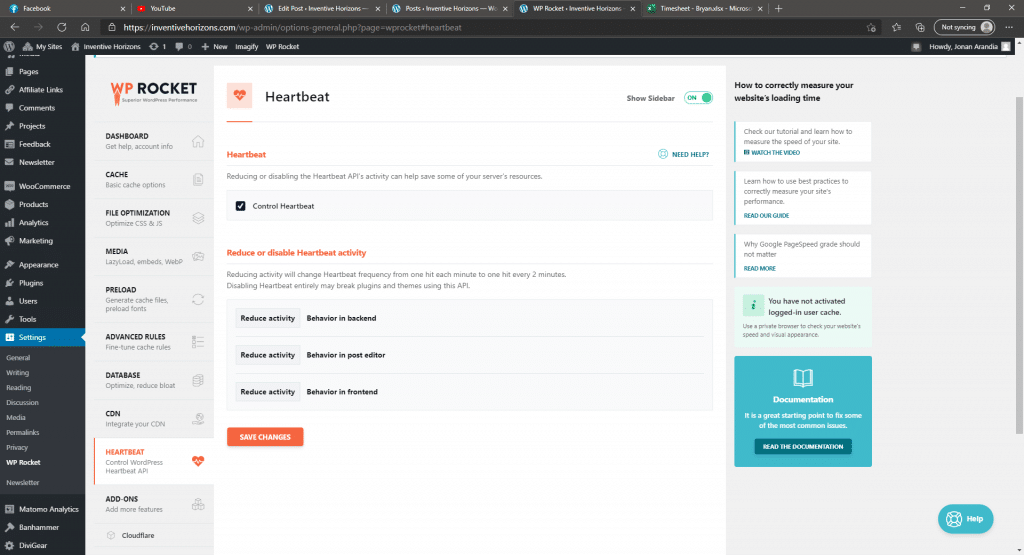
Heartbeat
- Control Heartbeat
Addons
- Google Analytics
- Facebook Pixel
- Varnish
- Cloudflare
Google analytics should mostly be open, and turning the Varnish on may depend.

After turning on the Cloudfare remember to modify the options.
- Optimal Settings
- Relative Protocol
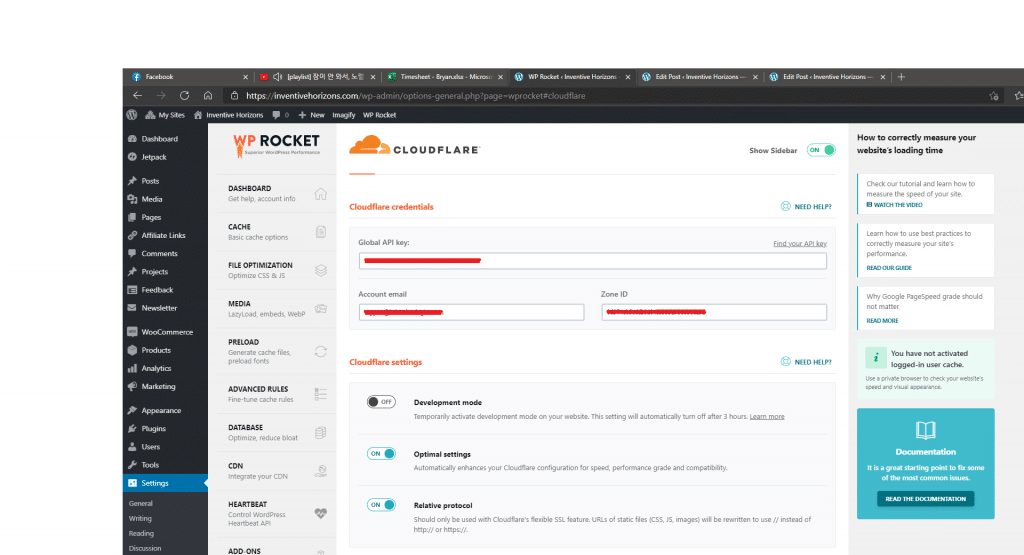
The keys, emails, and IDs would be provided by the admin.
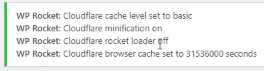
This would indicate that the settings were completed.
A check this WP Rocket Settings – YouTube for a video tutorial