WordPress has a powerful new editor that has been out for almost a year now. As they have been making changes we have been using it more often for new WordPress posts and quicker and easier blogging. Jump in with me as we look at the many ways you can use Gutenburg editor for your next post!
To get started there are a few things you should know about our typical setup.
- We use Divi Builder by Elegant Themes
- We use Easy Affiliate Links even when the links are not affiliate links
- This document is an effort by several people
- Asley Arviola
- Nathan Johns
- Bryan Arandia
- Spencer Heckathorn
Table of Contents
- Basics
- How to Make Paragraphs
If your setup is similar to ours you will want to make sure you are in the default editor. At the top it will say either “Use The Divi Builder” or “Return to Default Editor.” You are going to select “Return to Default Editor. Before we get started thought I’m going to breakdown some of the basics of the Gutenberg editor.

However, if you are working on a WordPress site that is not using Divi Theme or Divi Builder your should see this once you get to the new post screen.
[pic of new post on site without Divi]
Follow along in this guide and I will show you the basics of Gutenberg and give you a preview (see button 11 on the next screen) after we make each set of changes.
1. Basics of Gutenberg
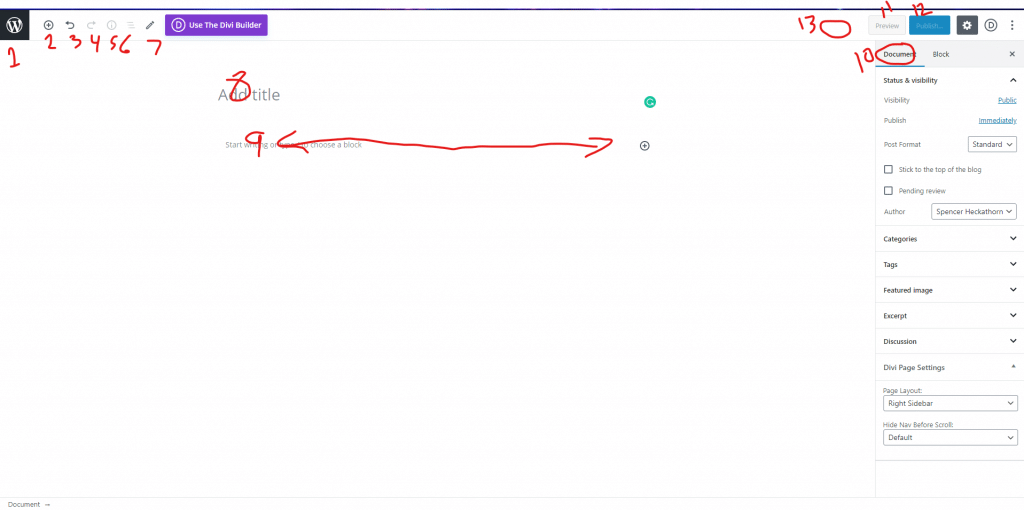
I’m going to start by showing you the most basic elements of Gutenberg on WordPress. You will need to know these so you can navigate the post and work with all the other things I’m about to teach you. Come back to this section as a reference when needed.
- WordPress Logo: Takes you back to the Posts area to view your site’s complete post list. Basically this is how you exit the Gutenberg editor but before you do you might want to check out numbers 11-13.
- ‘Add block’ button. This is going to insert the block of your choice wherever the cursor is located. This can be useful if you are trying to put a block in between 2 other blocks or are otherwise not having an easy time getting the block you want.
- Undo button, this works as ctrl+Z works inside word does. If you are not familiar with this shortcut it will undo the last action you have done giving you an easy way to “back up”.
- Redo button, sometimes you might use undo to look at how something looks or to make sure you did what you were intending to do. If this is the case you may now wish to redo what you have now undone (say that three times fast). If this is the case this button will allow you to go back to your original state.
- Information button aka ‘Content Structure’, this button is very useful if you are trying to hit a word count or need to navigate a large document. The resulting popup from clicking the ‘i’ will give you this information along with a document outline that allows you to quickly and easily click to different points in the post to help during the creation phase of making your post.
- ‘Block Navigation’ is just like it sounds. Quick and easy way to click between the current block you are on and the next block in the pages list.
- ‘Tools’ to be completely honest I have not had a need for this one as of yet. But it allows you to select several blocks as elements to move around on the page by grouping them together. What I do is left-click drag my mouse to select several elements then select the block option “group” and then move them around. Click here to read about this in detail.
- Post Title. This is where you put the title for your post. It will automatically be H1 item on the page and be used for the ‘URL Slug’
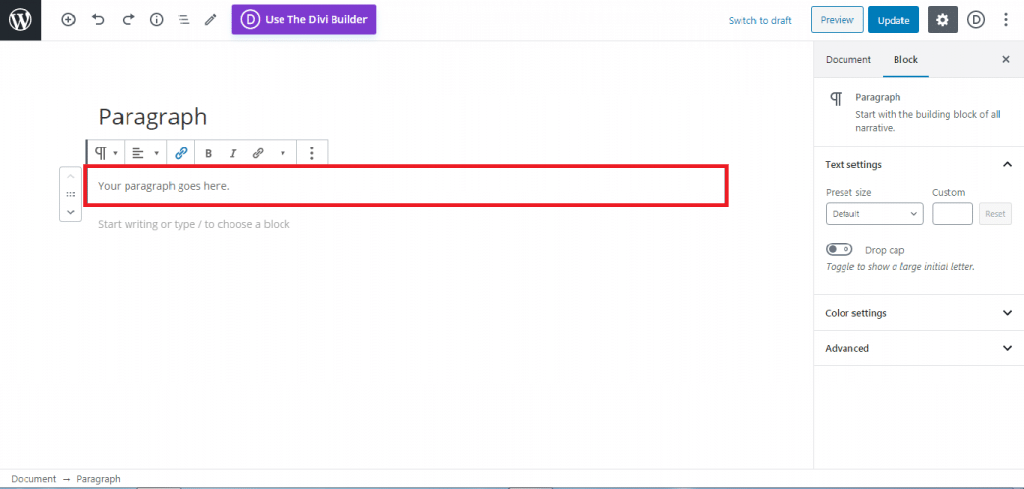
- Main page block area. This is a single block and the default ‘Paragraph’ block which you can read about below.
- ‘Document’ settings area. I have intentionally left this with little detail as it is covered in detail later on, but the basics of the settings you will change before publishing are found here.
- Preview, click this button to preview the post, and see what it will look like before you make it public.
- Publish, make your post public to the world!
- ‘Save Draft’, this is missing in my picture because there needs to be some content before it will show up, and the option here can change and sometimes will say ‘Save as Pending’, or if you have already published the post then it will say ‘Switch to Draft’. I will cover this in more detail, but it is important to know before you click on #1 from this list (WordPress logo), close the tab, close the browser, or click the back button. Make sure you click on the “Save Draft” and keep doing it often. This will save you literal hours of work and likely add years to your life as you will have less frustration in your WordPress experience.
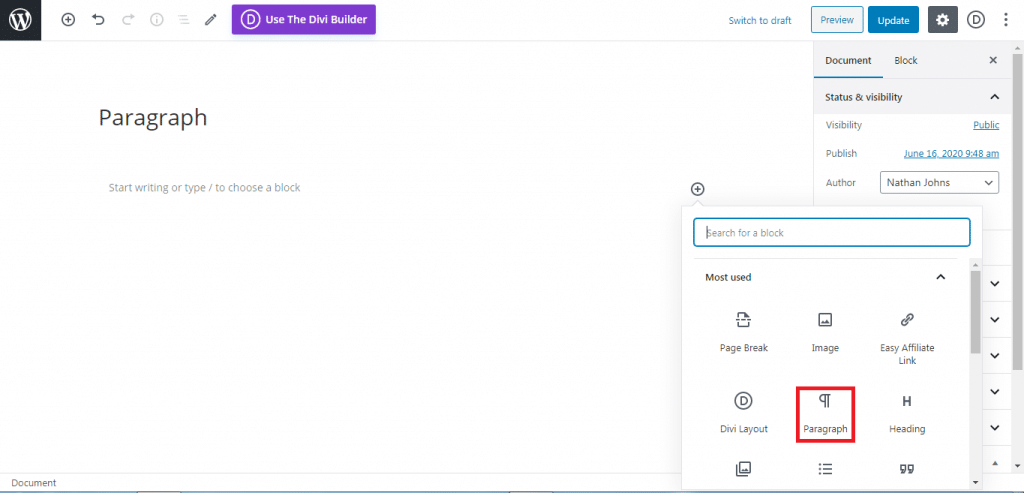
2. How to Make Paragraphs: Most Basic Element
Start by selecting the a paragraph block to insert it.
You can also simply start typing and the paragraph block will automatically be selected.
Type or paste the content you need into the block. Once you have a few lines we can start with the next part on formatting. Which will allow you to make your post look good and simpler to read.
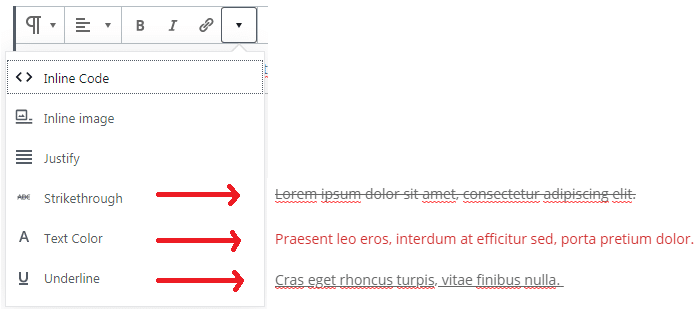
3. How to Format Your Post: Look and Layout Options
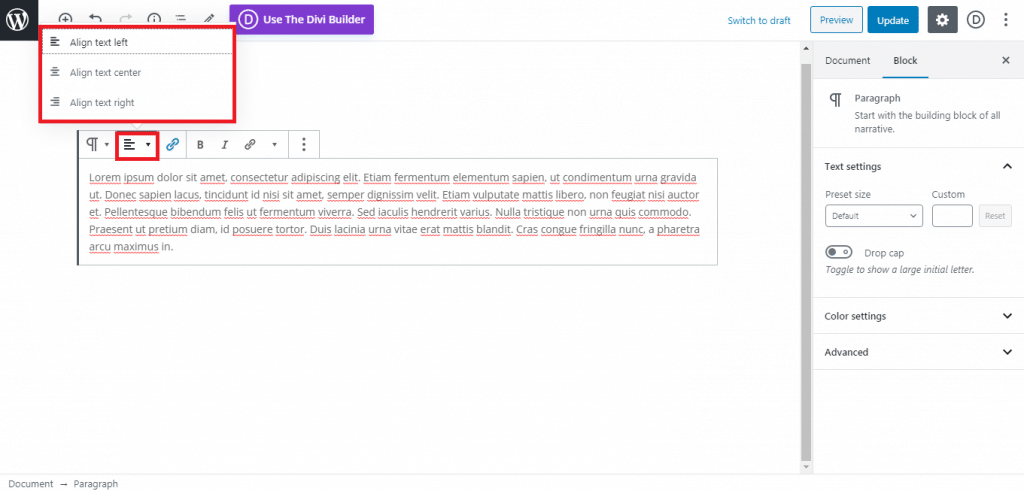
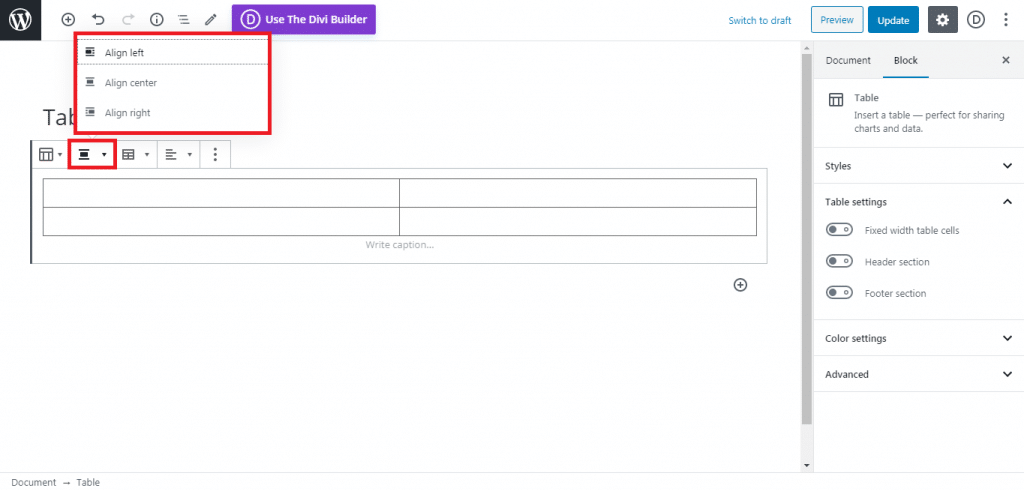
Once you have typed in some content you can start to change the layout, look, and feel of the text to match your needs. Here we start with the alignment just like in a word document you can select to align left (default), align center (your text will be aligned to the center of the block on the page), align right (your text will align to the right of the block on the page).
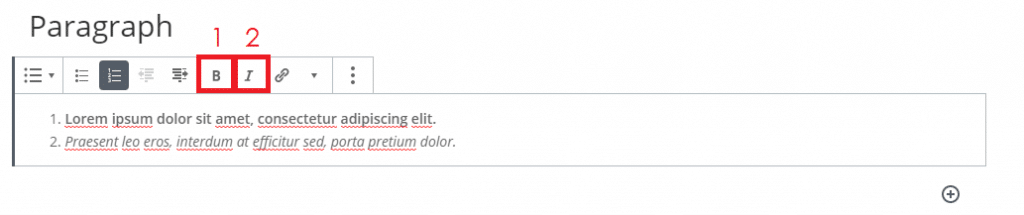
Now that you know a little about the alignment options we can look at how to Bold and Italicize the selected text. Start by selecting the text you wish to change and then for BOLD text select bold shown in the picture as #1 and also indicated in Gutenberg by the letter ‘B’.
In the same fashion, ITALICS text is shown in the picture as #2 and indicated in Gutenberg by the letter ‘I’. Select the text you would like to change then click the ‘I’ to change that text to italics.
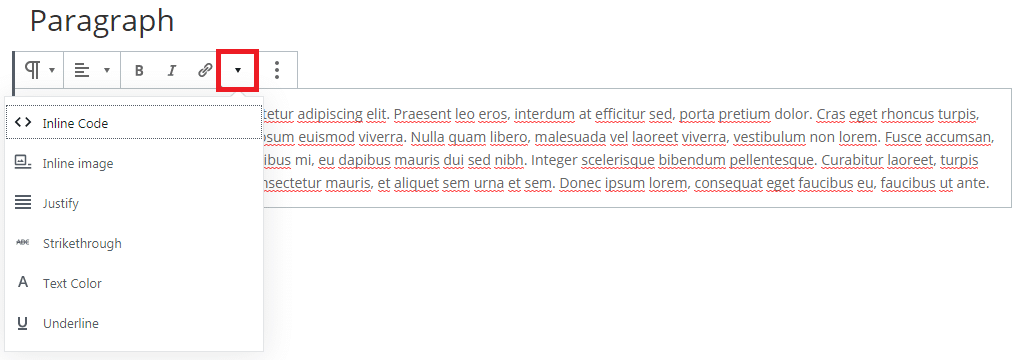
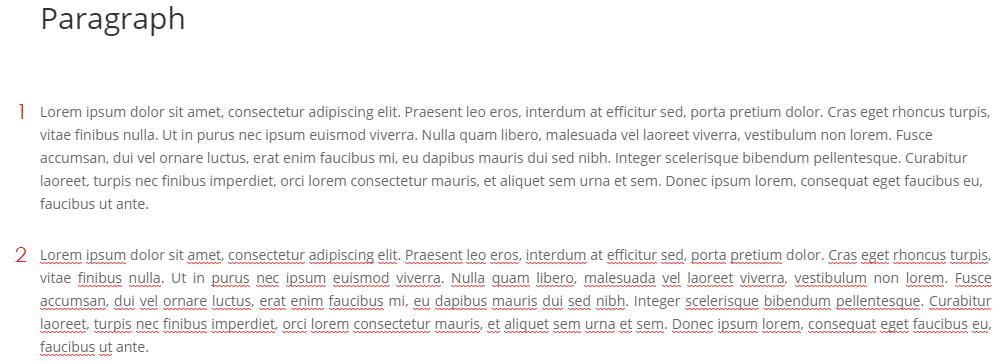
2. Justified paragraph.
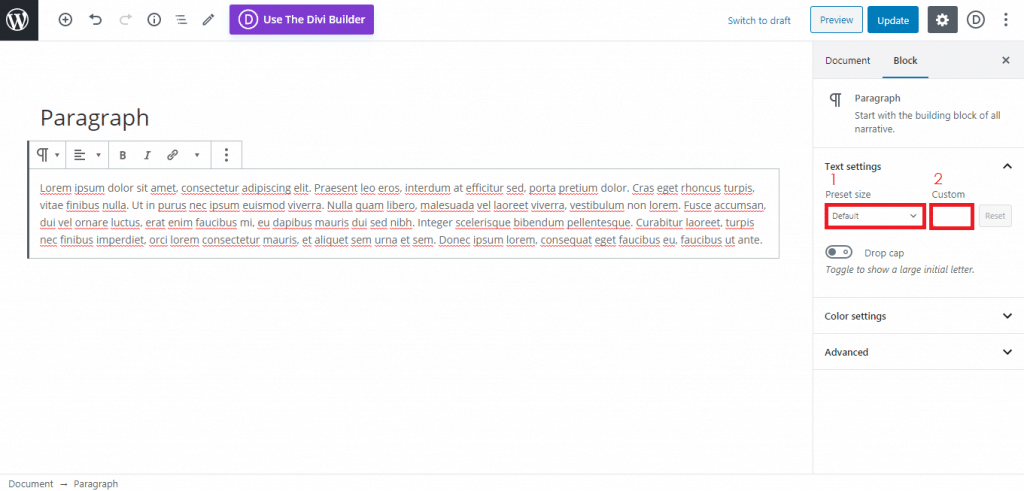
1. You can choose between small, normal, medium, large, and huge.
2. Input a custom text-size.
3. Adding Links in Text
You can also add links, and like mentioned before I use Easy Affiliate Links because it allows for easy click tracking, and can help me understand when a resource is helpful or not.
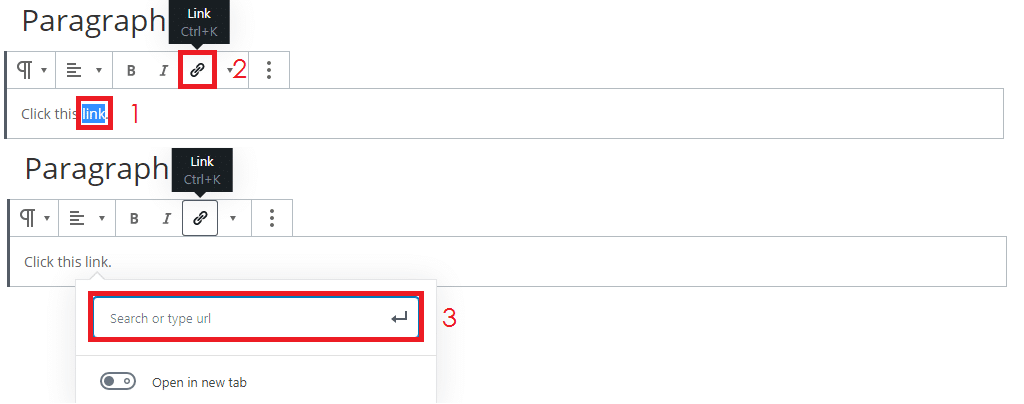
- Mark the text you want to be a link.
- Click the link button.
- Input the link address (enable the “Open the new tab” if you want to redirect it into other tab when clicked.
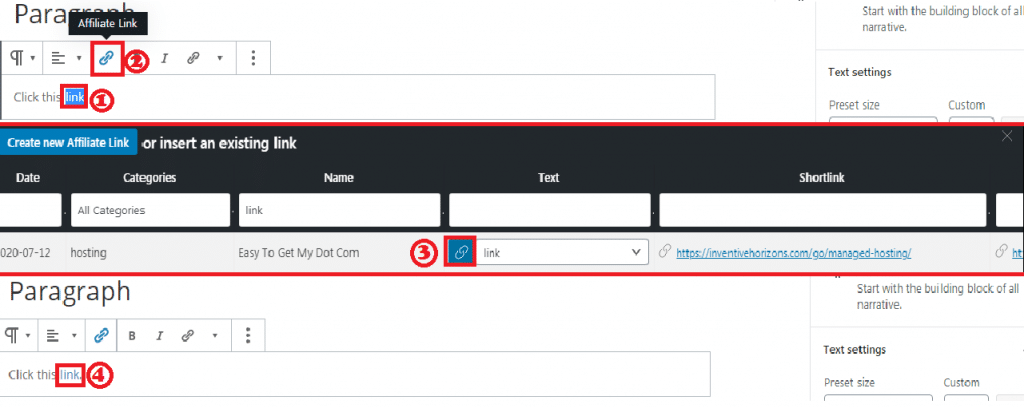
To add a hyperlink with tracking
- Select the text you want to be a link
- Click the blue “link” button it looks like a chain that “links” 😉
- Choose the link you want to attach to the selected text and click the blue link box as seen in the picture
- Done, the text will turn into different color and look like it is underlined indicating the linking worked
Sometimes the linking doesn’t work the first time if your text didn’t change colors make sure you have the right text selected and repeat the steps to try the linking again.
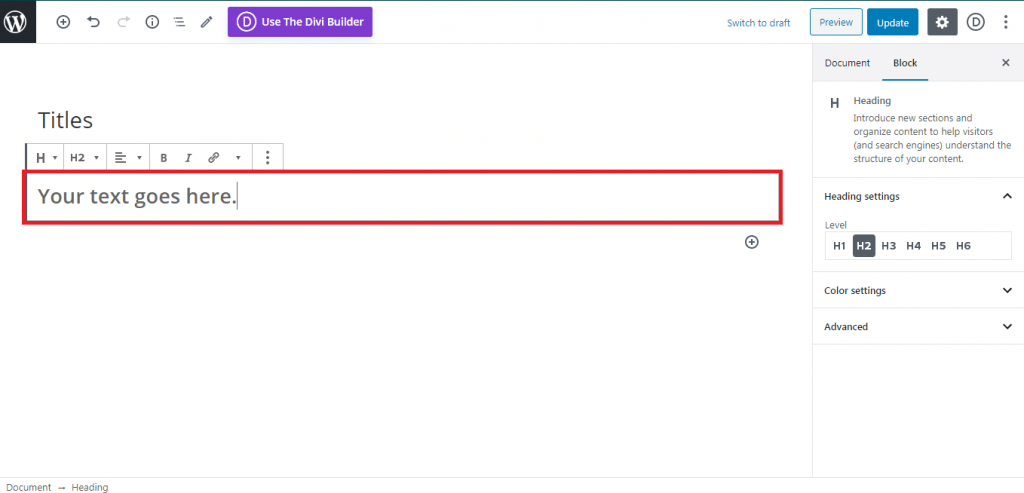
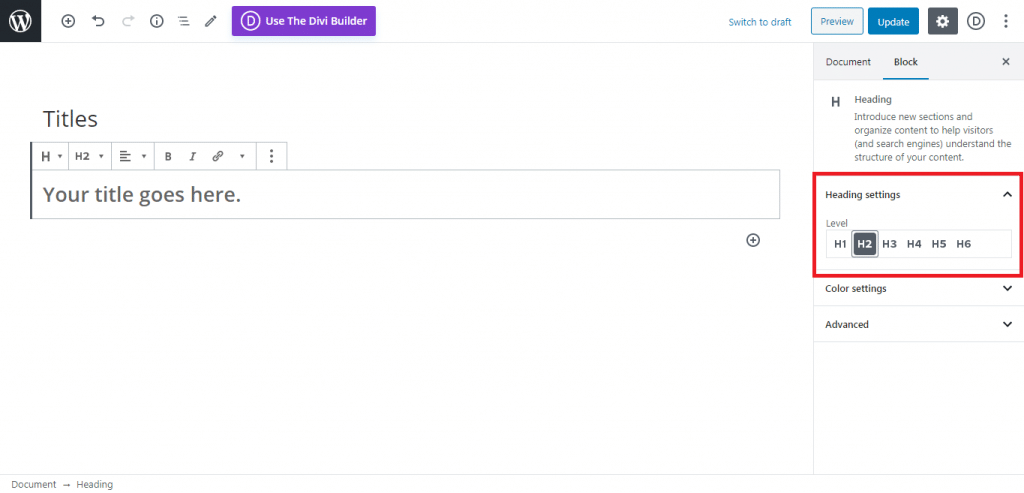
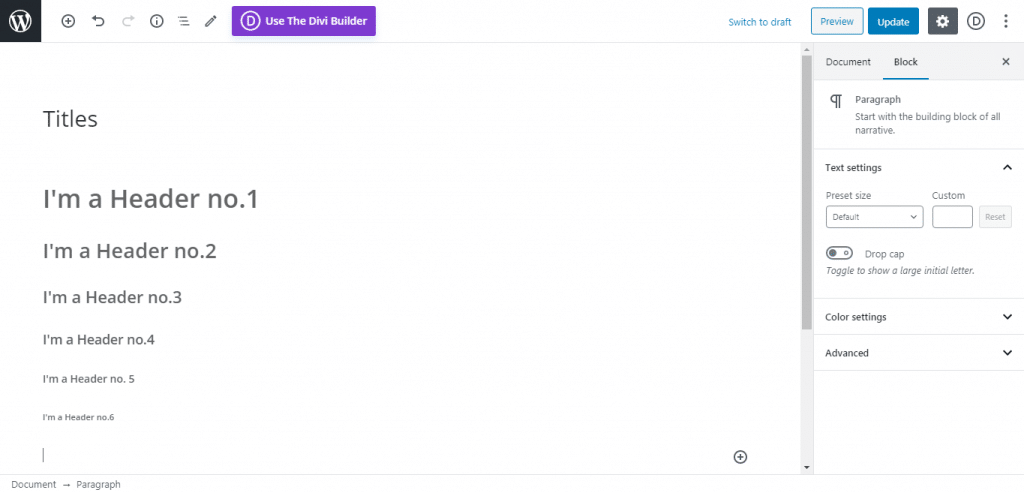
How to Make Titles

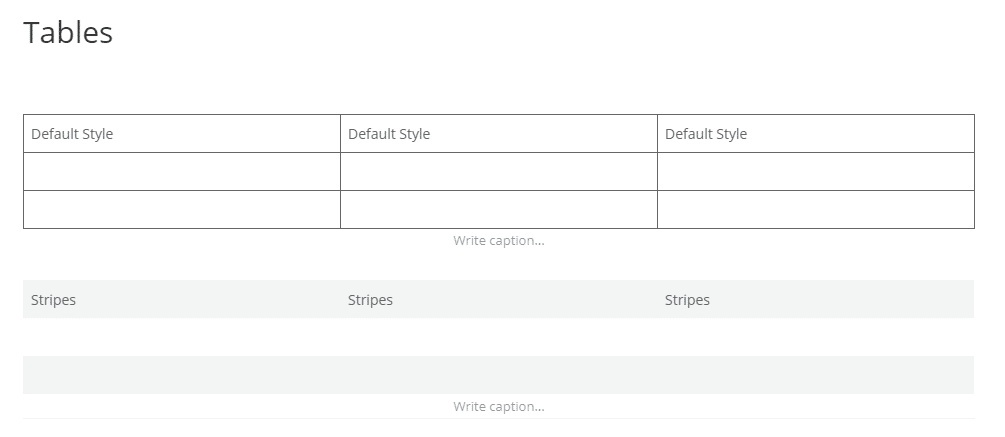
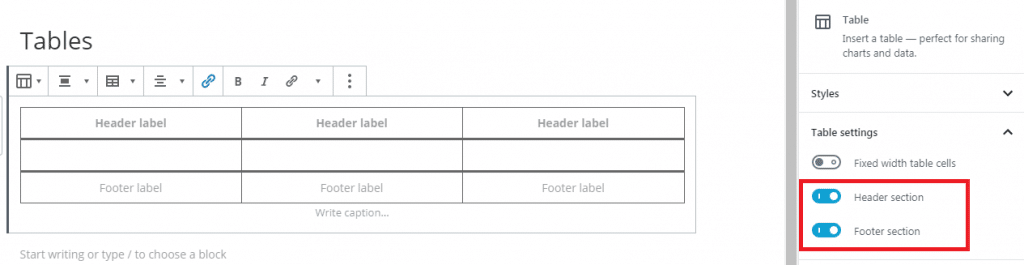
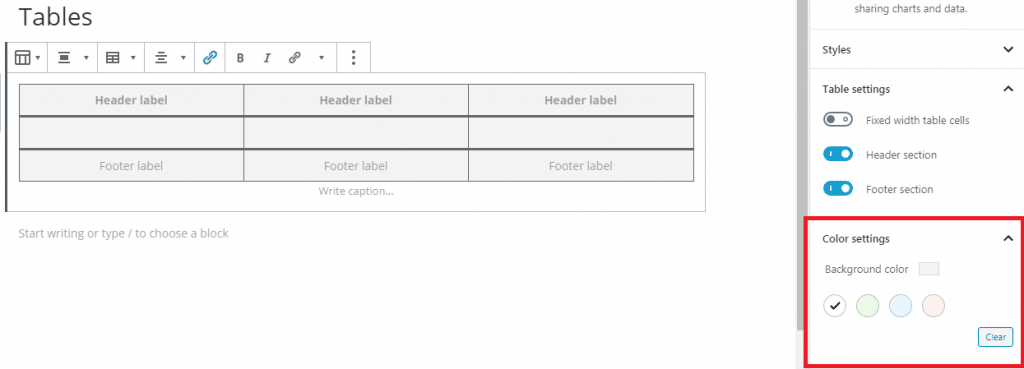
How to Make Tables
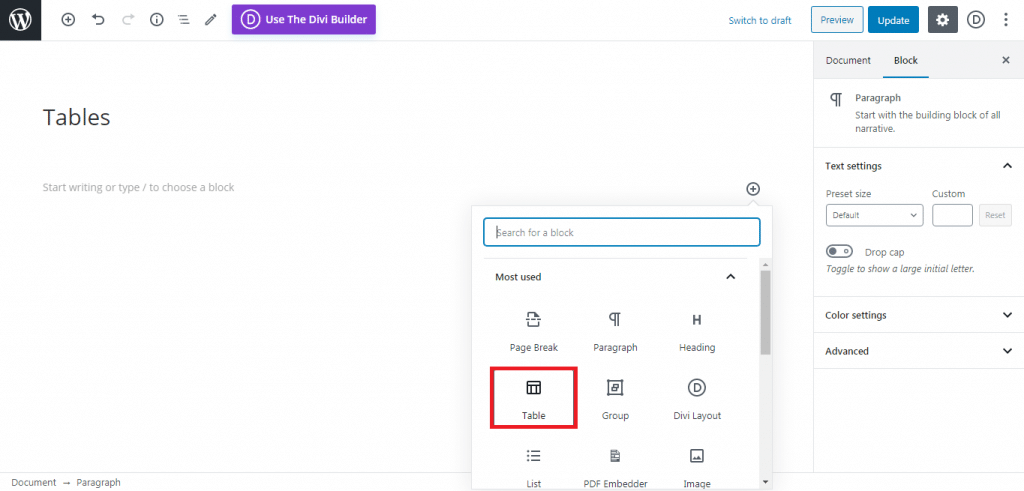
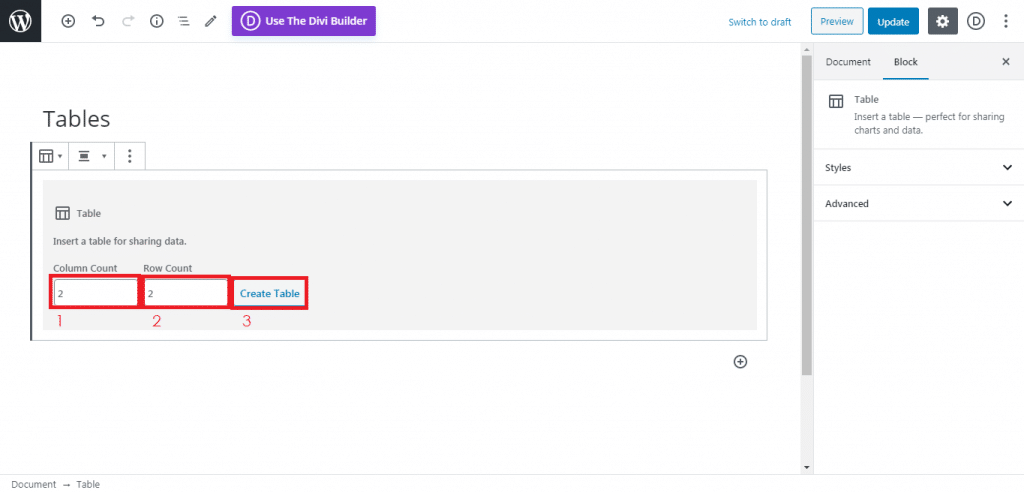
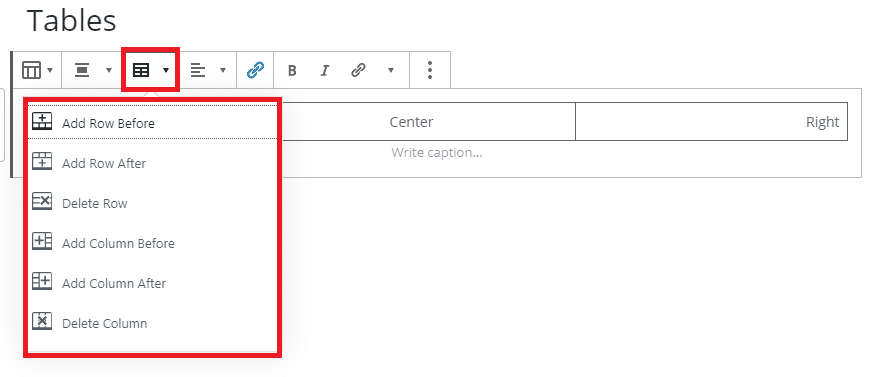
2. Insert the desired number of rows.
3. Then click this button.
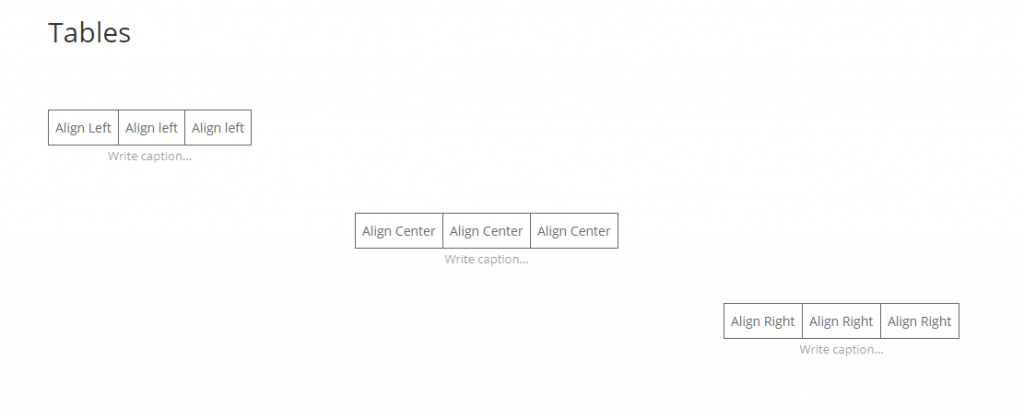

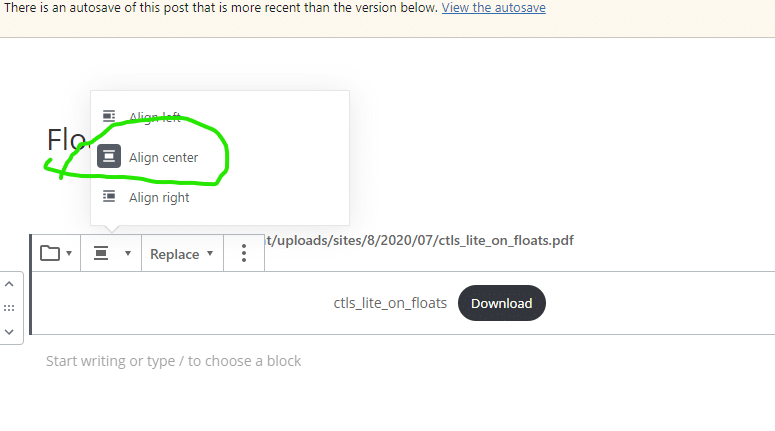
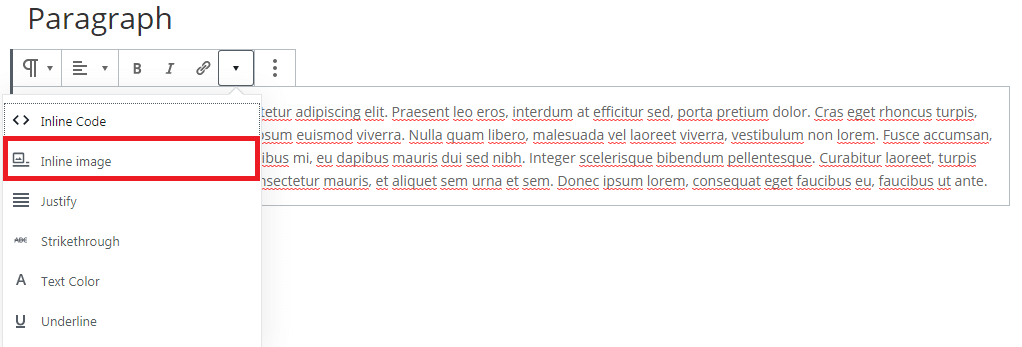
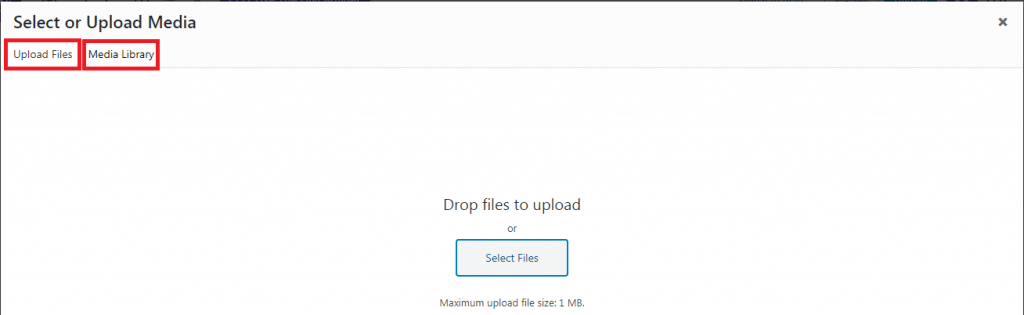
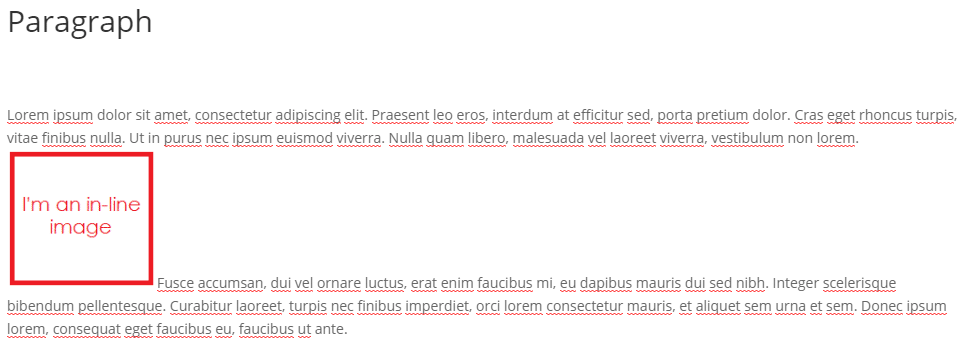
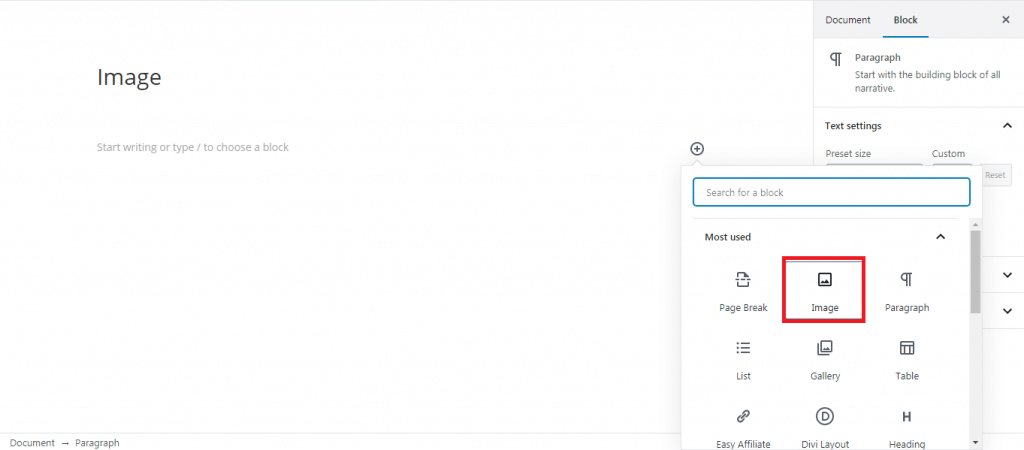
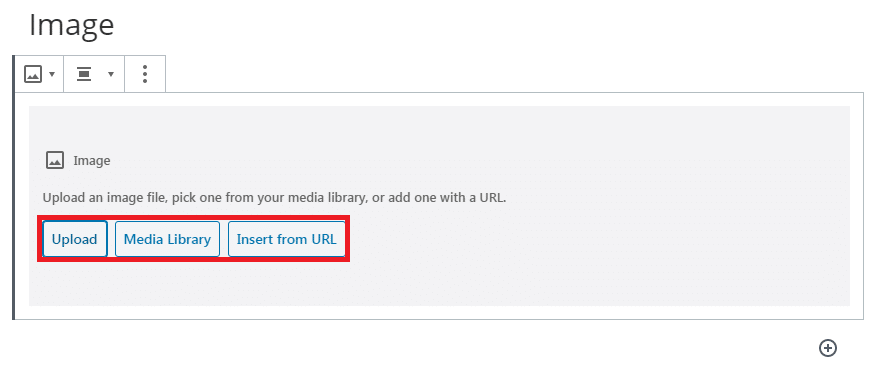
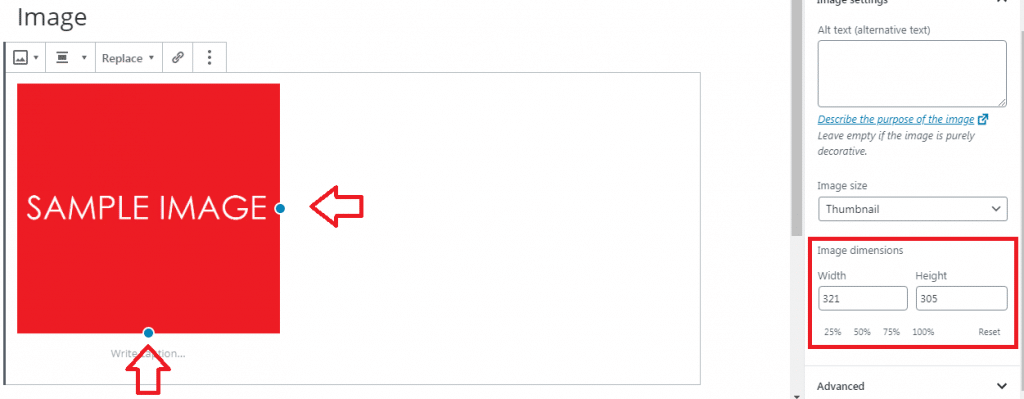
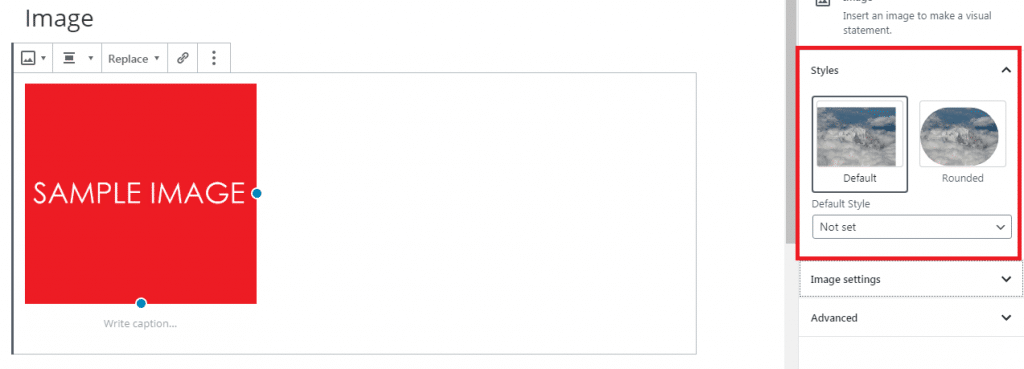
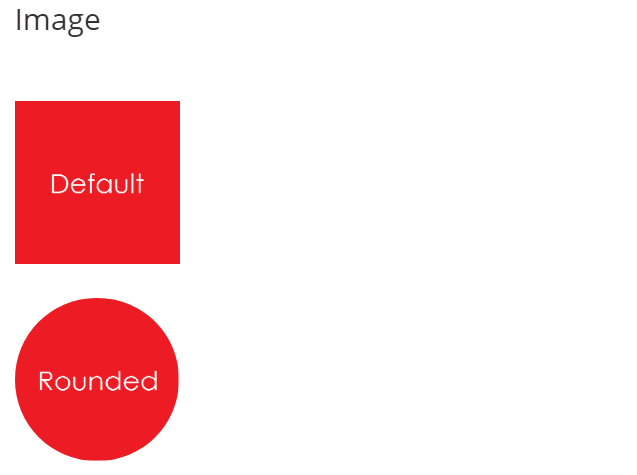
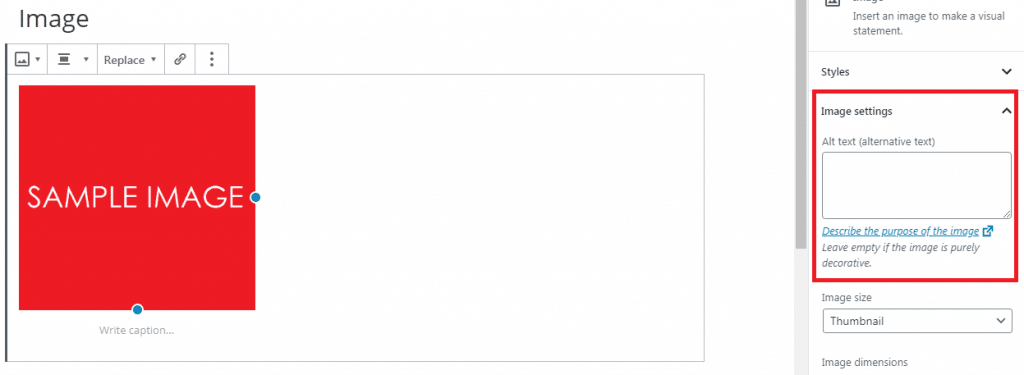
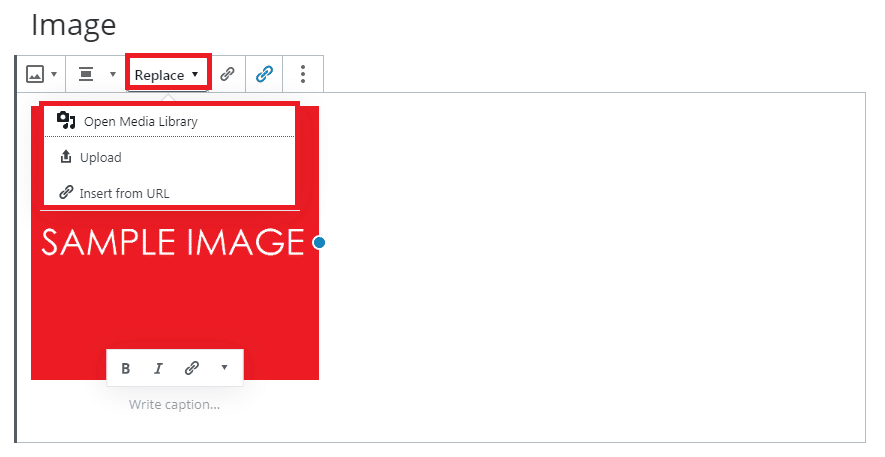
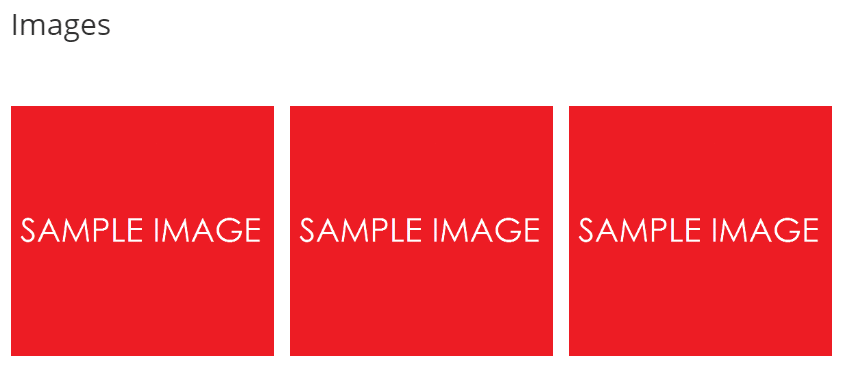
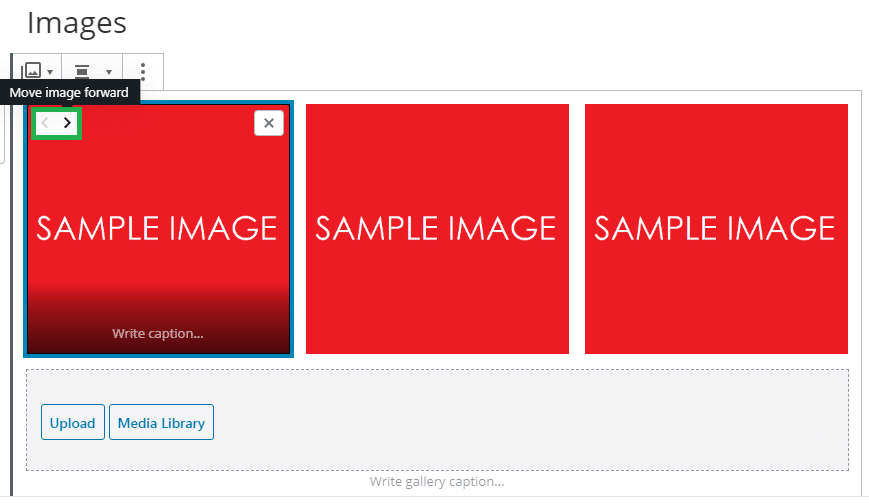
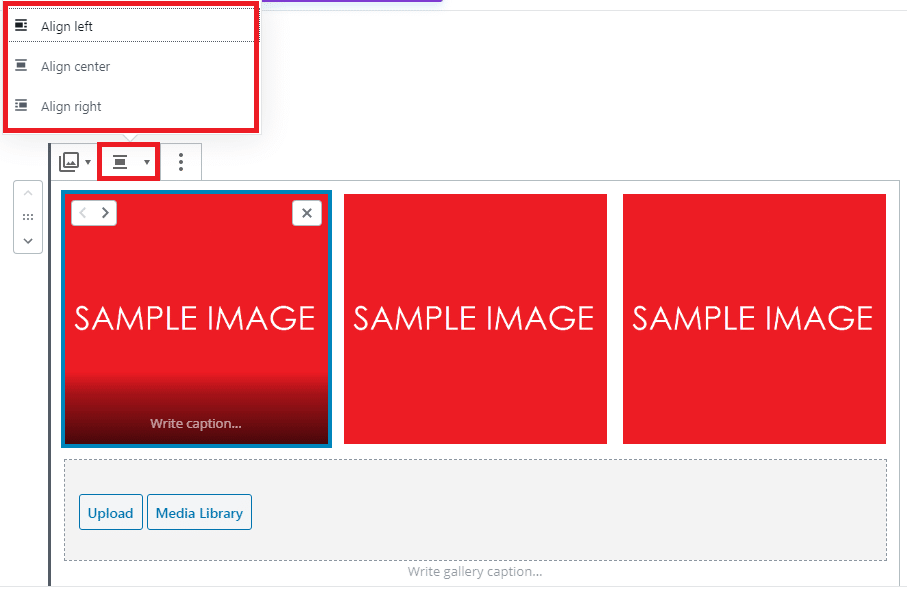
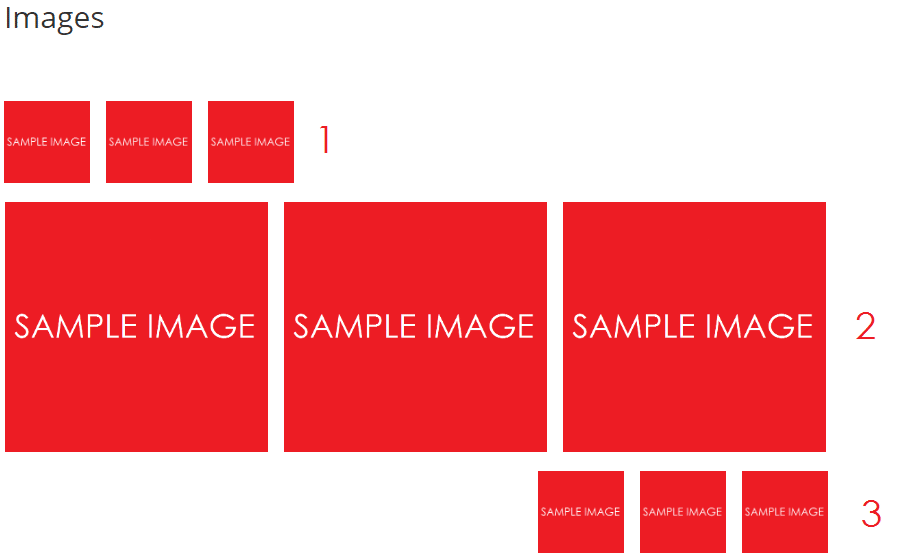
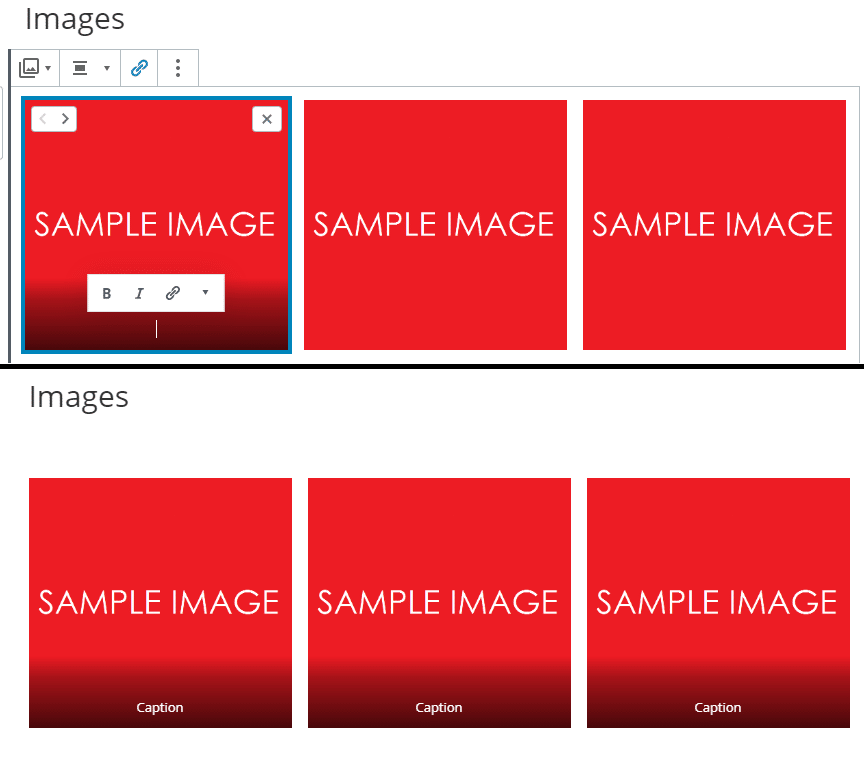
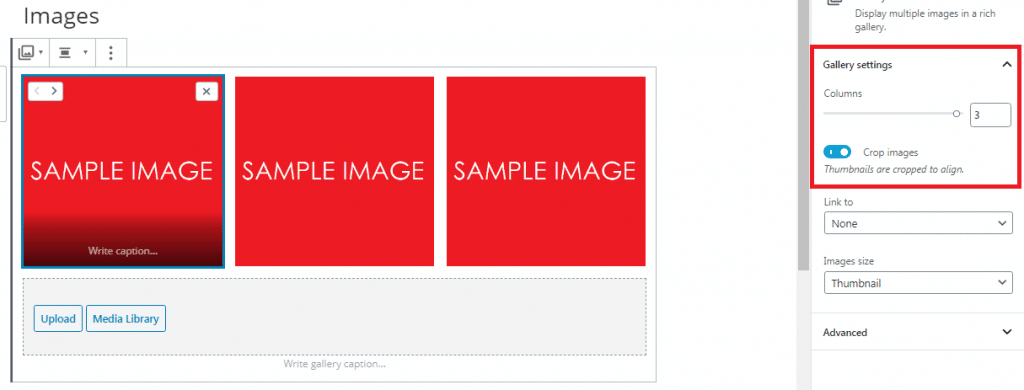
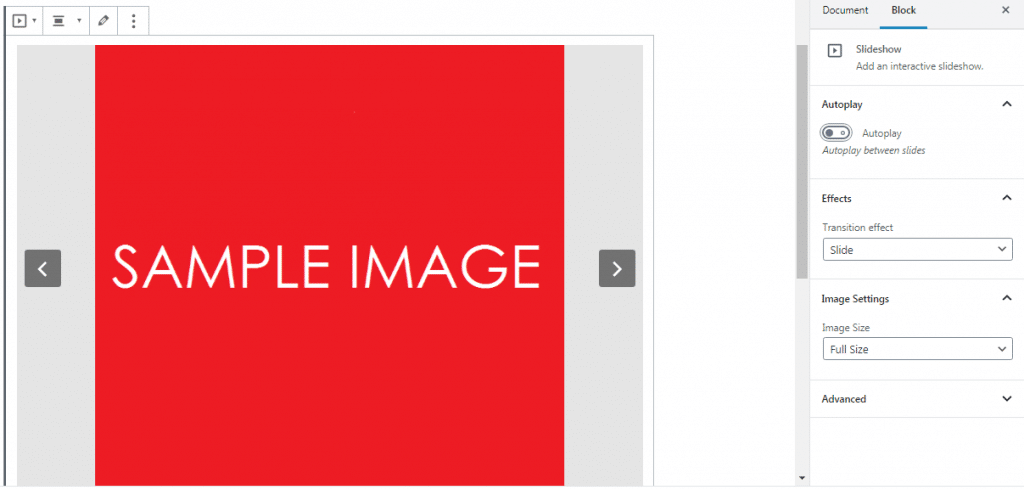
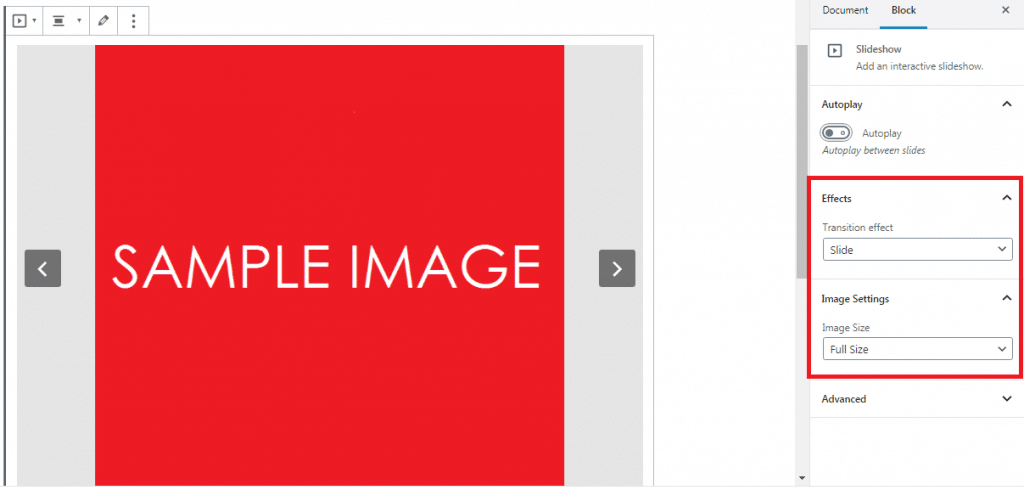
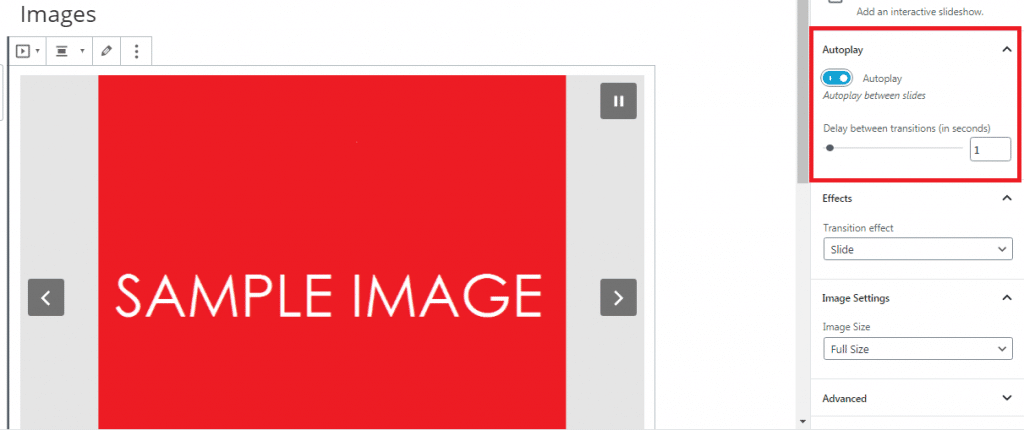
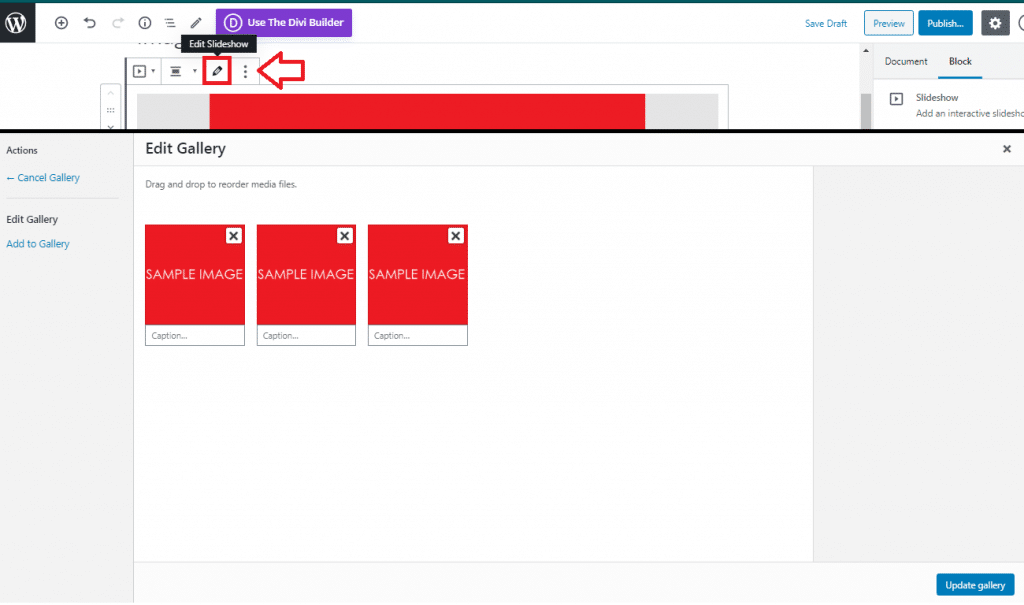
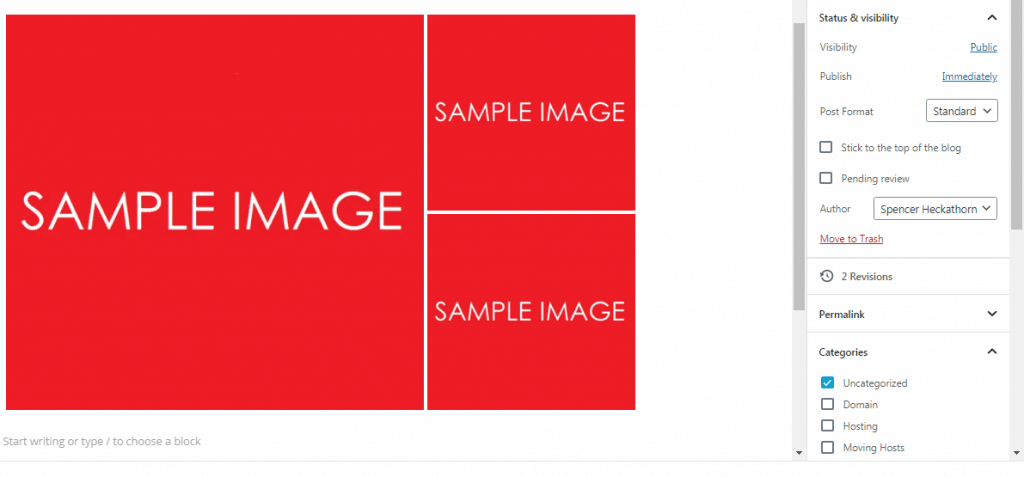
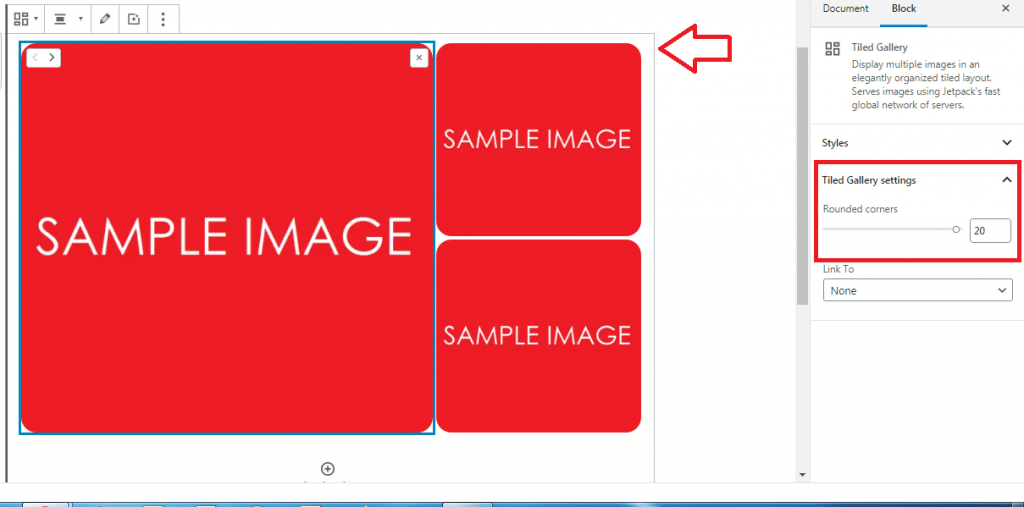
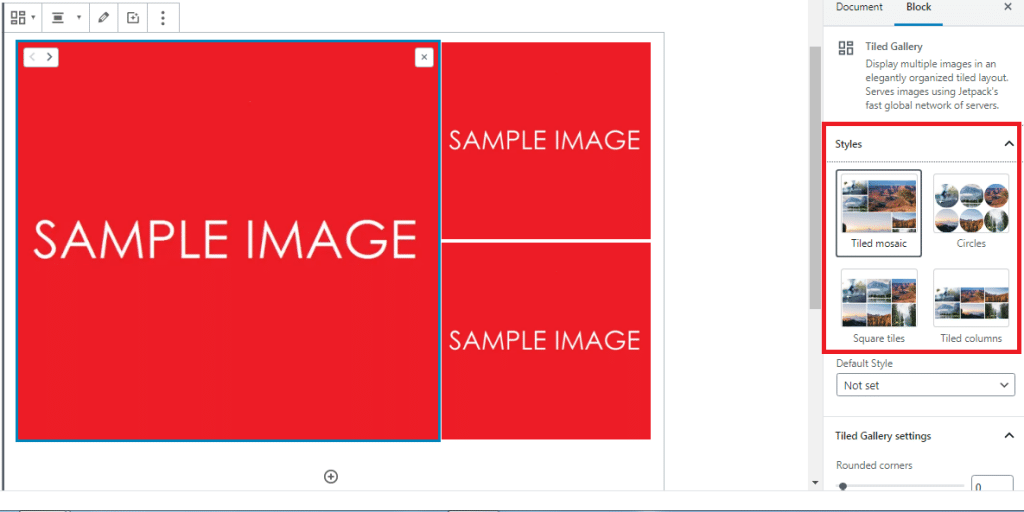
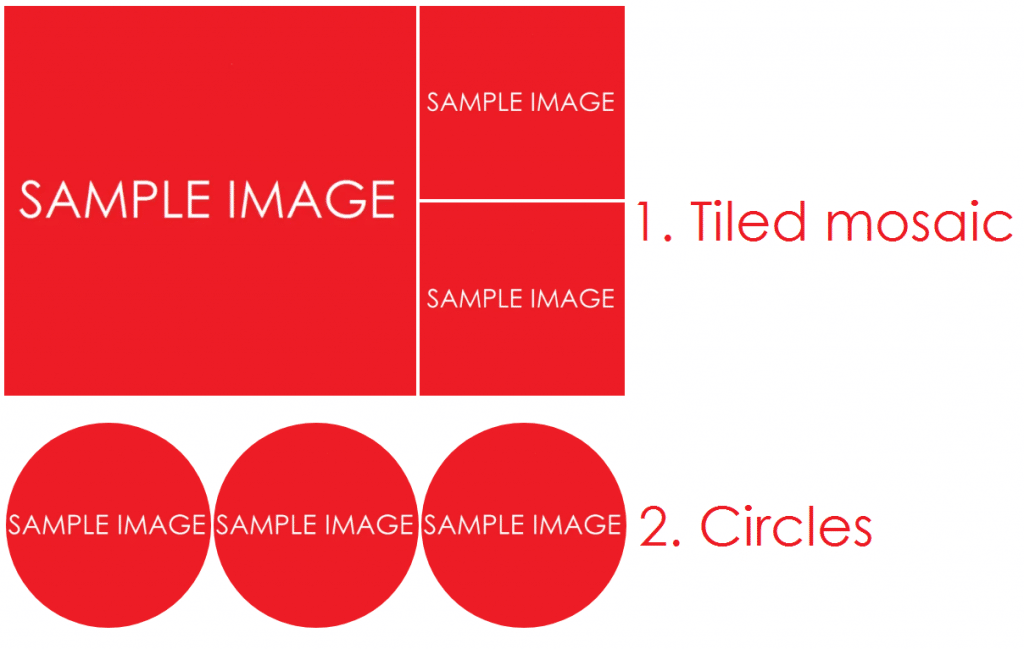
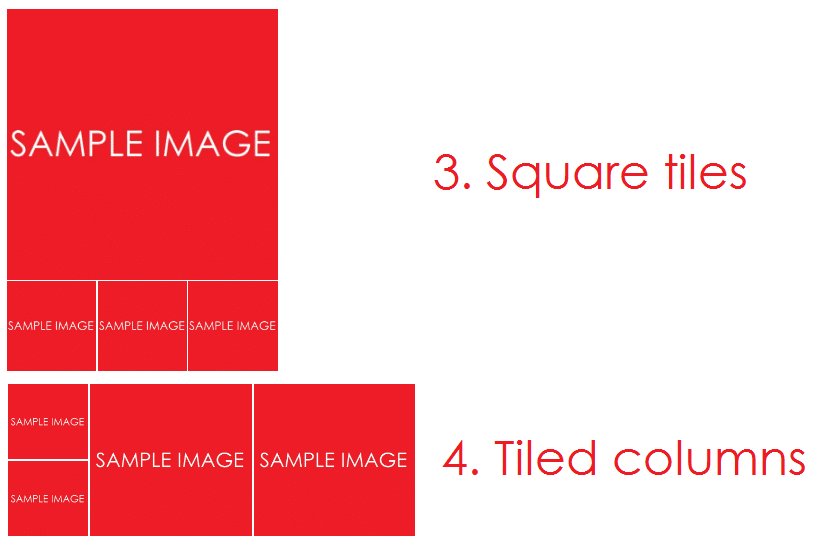
How to Use the Images Feature

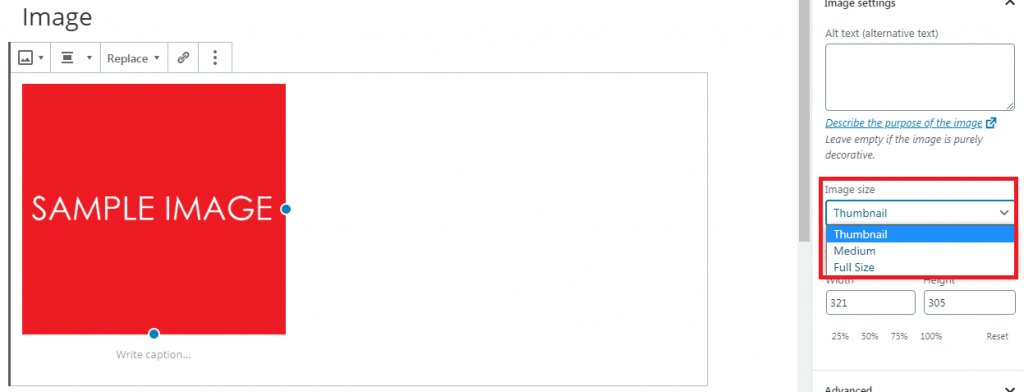
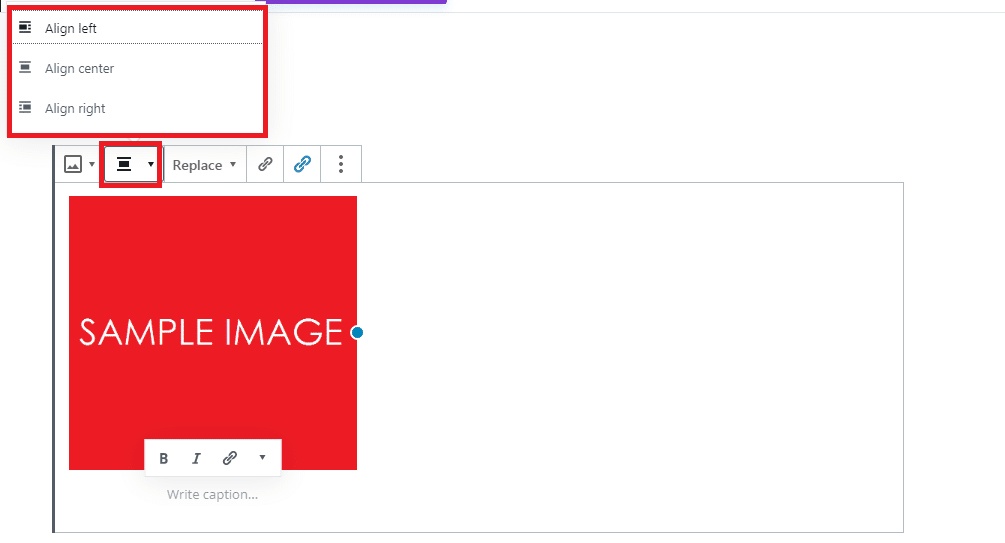
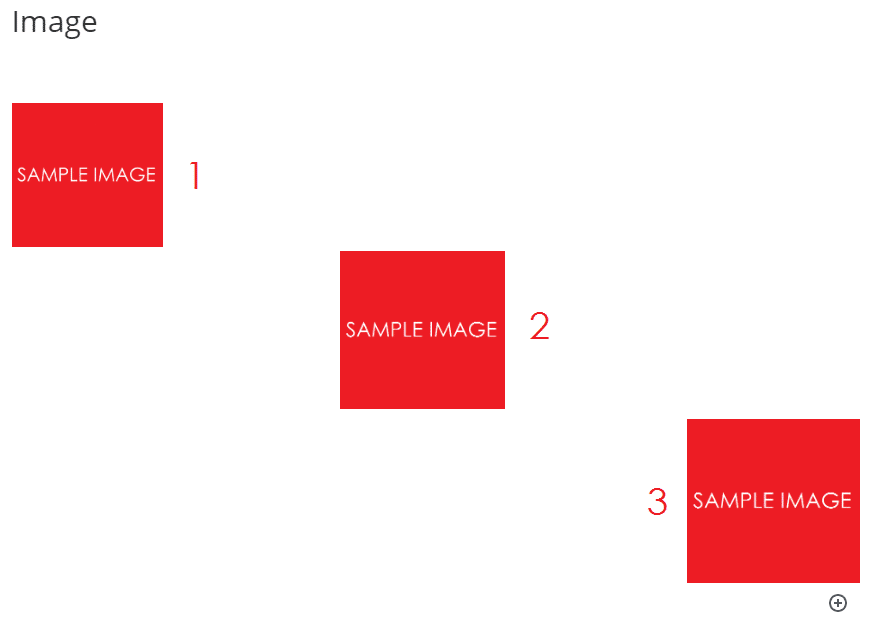
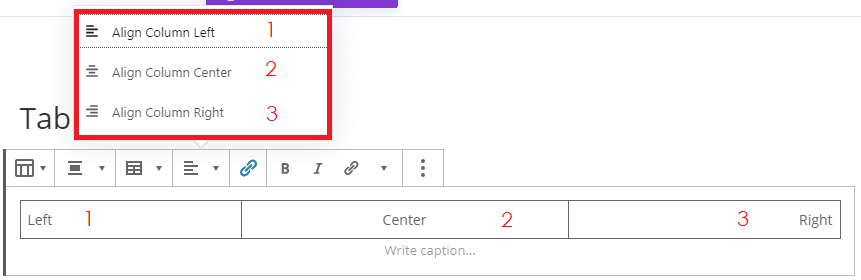
1. Align Left
2. Align Center
3. Align Right.

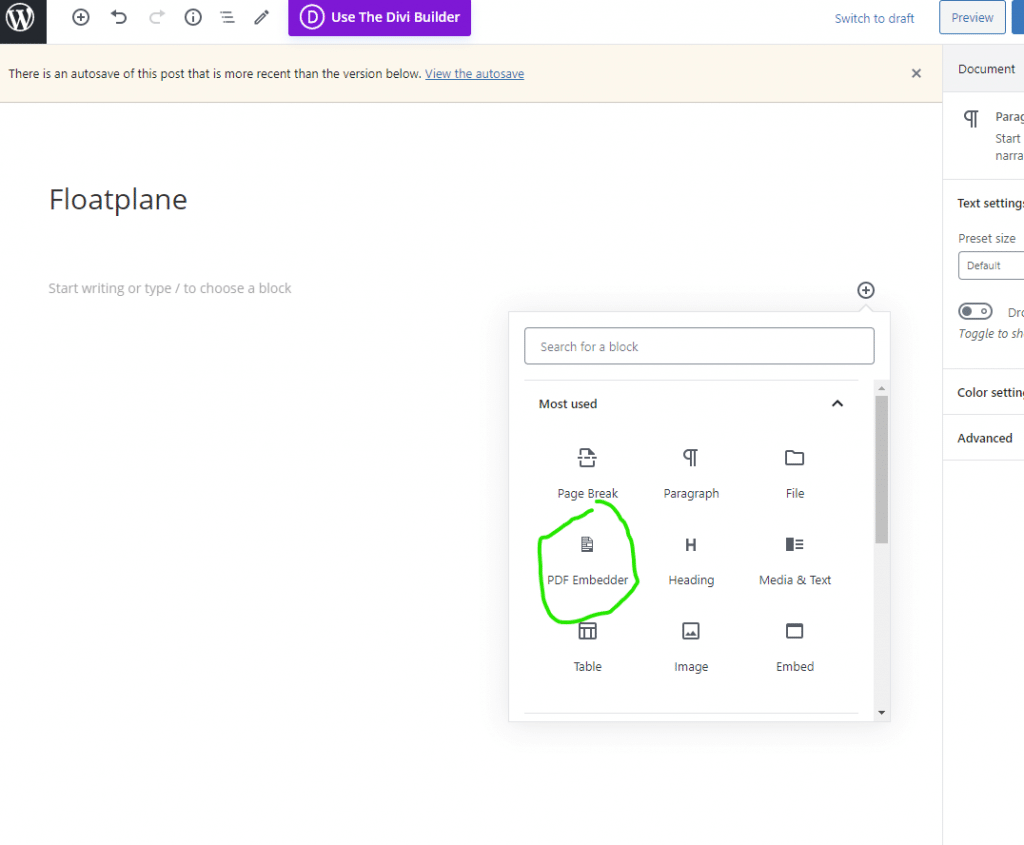
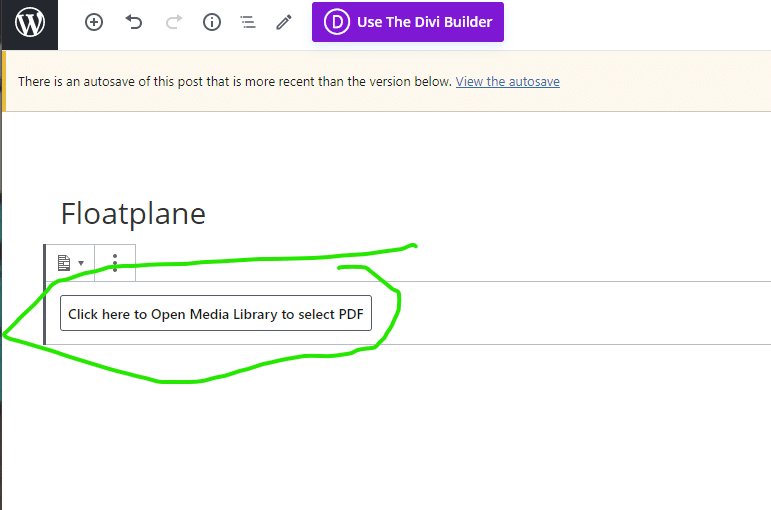
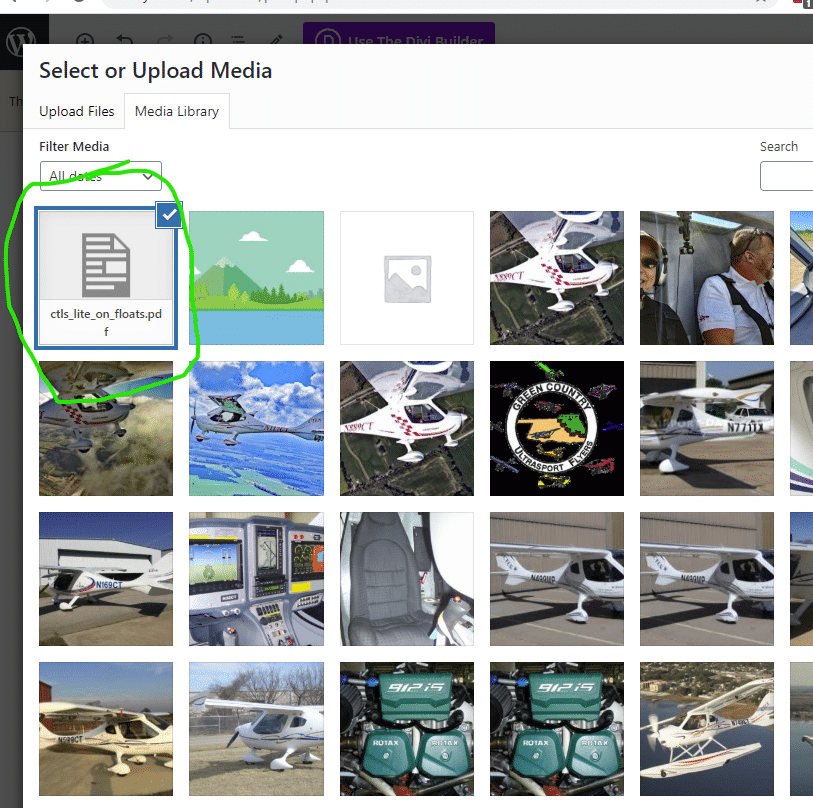
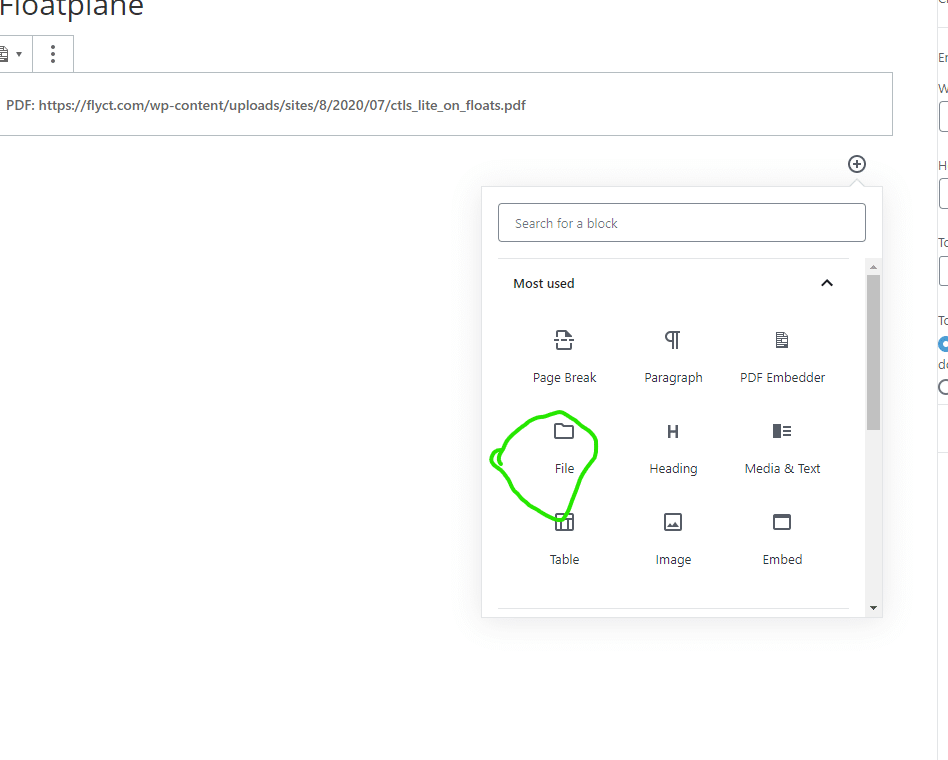
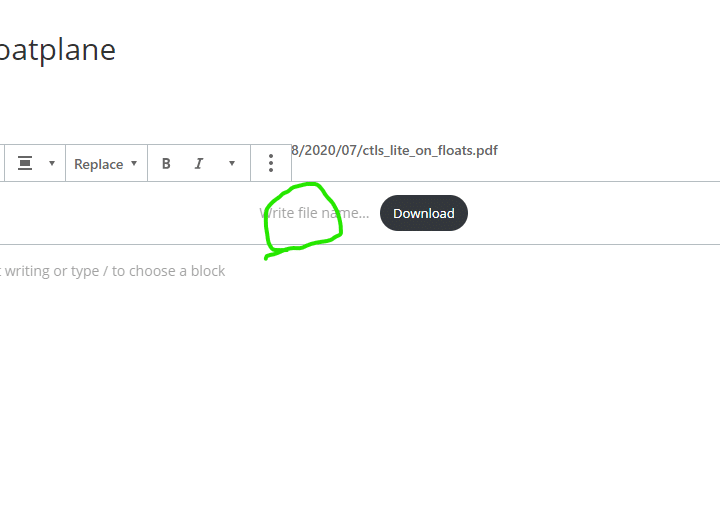
How to Embed PDF
A plugin was needed to make this doable since WP and DIVI both are not great at it. For now the plugin is called PDF Embedder. I will update if we find a better solution.